Introduction
No, this isn't a meal you've not heard of, this is film soup: chemically altering the film to produce unexpected results. You'll often see this kind of photography referred to as “Lomo," a term popularized by Lomography's website. The beauty is that you can use the same “recipe” on numerous occasions and each result will be unique. The process though can appear quite confusing and daunting to first timers, so hopefully this article will help clear up some questions you might have.
What can I use?
Tom:Get your chef hat on, its time to pick your ingredients. You can really be as creative as you want here, and the possibilities are somewhat endless. Its all about experimenting and coming up with new ideas. There are some popular ingredients that you'll see quite a lot, such as lemon juice, due to its high acidity balance which reacts with the silver halide crystals in film.
Crushed silica gel (the packets you get when you buy clothes that have “do not eat” written on them) is another popular thing to add, and tends to create small dots scattered about the frame. Barbara’s photos labelled “Gibbs” are an example of this. The film (Agfa 100) was soaked in a solution including detergent crystals and silica gel, and you can see the particle scattered through many of the shots. Interestingly, this didn’t occur on all the films that were soaked in this same soup. Another example of the surprise factor!
Honestly though, you can really use anything you want. I've found rum usually gives me some nice soft tones that I quite like, for example. My favourite recipe is:
- Crushed Gladiola petals
- Food colouring
- Energy drink
I've always found that gives me some really crazy colours, which is always nice. I'll usually flesh out all my soups with water, just to help the mix enter the canister.
Another was using some Lush bath bombs which really did a soapy yet colourful effect. Other types of ingredients can really damage your film – Petrol, window cleaner, vinegar etc. I soaked a roll of film on fire once and had it developed. Obviously that outcome was rather destructive.
I've always thought of it like pH balance: as a rule of thumb, the more acidic your ingredients, the more damaged and destroyed your film will be. The more basic your ingredients, the more colourful and toned your film will be. Again though, its all down to chance; this is just something I've found that helps me out.
Here's some ingredients to help you out if you're short on ideas!
- Alcohol
- Hot Sauce
- Cleaning products
- Fizzy drinks
- Stick the film in the dishwasher, or washing machine
- Fabric dye
- Printer ink
- Perfume
In short – anything you think might work, give it a try!

What exactly do I do?
Tom:Simply pour your ingredients into a jug or a saucepan, and then drop your film in! There's really no right answer on how you go about it, so don't be put off if you're unsure. I'll always shoot my film first and then once the film has been rewound, drop the canister into the mix. Barbara, though, will soak the film first and then shoot afterwards. We haven't done any kind of controlled experiment to see whether soaking before or after shooting makes a difference to the final outcome. Might be worth investigating...
Barbara: To soak first, make your soup, soak the film (should be at least an hour to make sure all the film is damaged, but see Tom’s comments below). Let it drip dry for at least an hour and up to a few days. Then when you’re ready, take it into a film changing or totally dark room (this is really impossible to do in a bag). Carefully unroll the film all the way, dry gently with a hair dryer until you can feel it’s completely dry, then roll back in the canister and you’re ready to go! One advantage to this method - at least so far - is that since the film is already dry when I shoot it, I just pack it up with all my other rolls for processing and have never had any problems from the lab. Even with rolls clearly marked with words like “SOUP” and “ABSINTHE”.


Now your film is soaking. What next? Again, there's no right answer. Some people (myself included) like to boil their film soup. I won't always do it, and that could also be an interesting controlled experiment: whether heating up soup bears any impact on the outcome.
How long do I leave my film in the mix? How long is a piece of string? As a rule of thumb, I've found that the longer you leave your film in the mix, the more pronounced the effect will be. Sometimes I'll leave a film in for 24 hours, other times I'll leave it in for over a week. Try it out for yourself though! I'll often stir the film too, as I figure this will help the liquid enter the tightly wound film inside the canister.
Once you're ready, take it out to dry! I'll normally give the canister a good shake to get the worst of the excess liquid off, and then leave it on the shelf to dry. I can't tell you how long to leave it dry, you'll have to use your own discretion there. Usually though I'll leave it 3-4 days and then its fine.
Lab Issues
Tom: Getting this film developed can be a bit difficult as some labs simply won't accept it. I can really only speak as someone living in the UK, but places like Boots and Jessops won't even touch this film. I was rather surprised to hear that Snappy Snaps won't either, but I do have a friend who says they've accepted it before.
If you're unsure of whether a lab will accept it, it's best to be 100% honest and tell them exactly what you've souped the film in. I've heard stories before of labs developing a film, unaware its been souped in something, and that has then contaminated their chemicals and destroyed other people's films. Not cool.
In the UK I know that Photo Hippo in Burnley (http://www.photohippo.co.uk/) and AG Photo Lab in Birmingham (http://www.ag-photolab.co.uk/) will develop souped film. I've had experience with both, and would recommend them! If there are any other places, please do leave a comment and share!

What about B&W film? What about 120?
Short answer – No idea!
Tom: I've only ever seen a handful of souped B&W images. I don't know enough about developing and whether that has any bearing, but I always assumed it just wasn't the done thing. If I were feeling experimental, I'd often just shoot with Revolog's Snovlox (http://shop.revolog.net/product/snovlox-black-white-film-limited-edition), or some film from Labeauretoire (http://www.labeauratoire.com/).
120 film could be really interesting. I've never shot medium format, so I can't do any testing myself. But I figure being in the dark room with the film completely unwound, you could easily soak it and wouldn't be restricted by the film canister. Same goes for 35mm I guess; if you had the film unwound from the canister in the dark room you'd have access to the entire thing. Could be fun!
Barbara: I’ve seen a few examples of black and white souped online. It tends to make the film blurred and dreamy looking, like very expired film. I’m in process of testing a few rolls right now. I’ve souped one roll of color 120. The results were awesome but working with the film (possibly in part because I souped first) was difficult. Of course when you soup it all the adhesive soaks off, so keeping the souped and dried film rolled properly until you are ready to load and shoot is a bit challenging, but it's nothing some tape can’t fix. Just be careful to rewind with the proper orientation to the protective paper if using the “Before” method.
We've seen other examples of altering film without necessarily souping it. A friend of Tom's developed her film, then buried it for a few days, before digging it back up and then scanning it, and there was something otherworldly about that. We've also heard of people also just sticking the film in the oven for a bit; I've never seen the result though.
Conclusion
Go wild to your heart's content. You don't have to just stick to one ingredient, of course. I had some nice results using rum, crushed silica gel and window cleaner before. There is no right or wrong way at all in souping or altering your film. The important thing to remember though is don't worry about destroying your film – that's kind of the point!
Barbara: My first recipe was sort of a combination of everything – silica gel, lemon juice, detergent, PLUS heating. I did four different films in this concoction and each one had a different result. I’ve also tried single ingredient approaches. I’ve shown an example of expired film soaked in absinthe. I have a vodka soaked roll and a red wine soaked roll waiting for their chance in the camera as well.

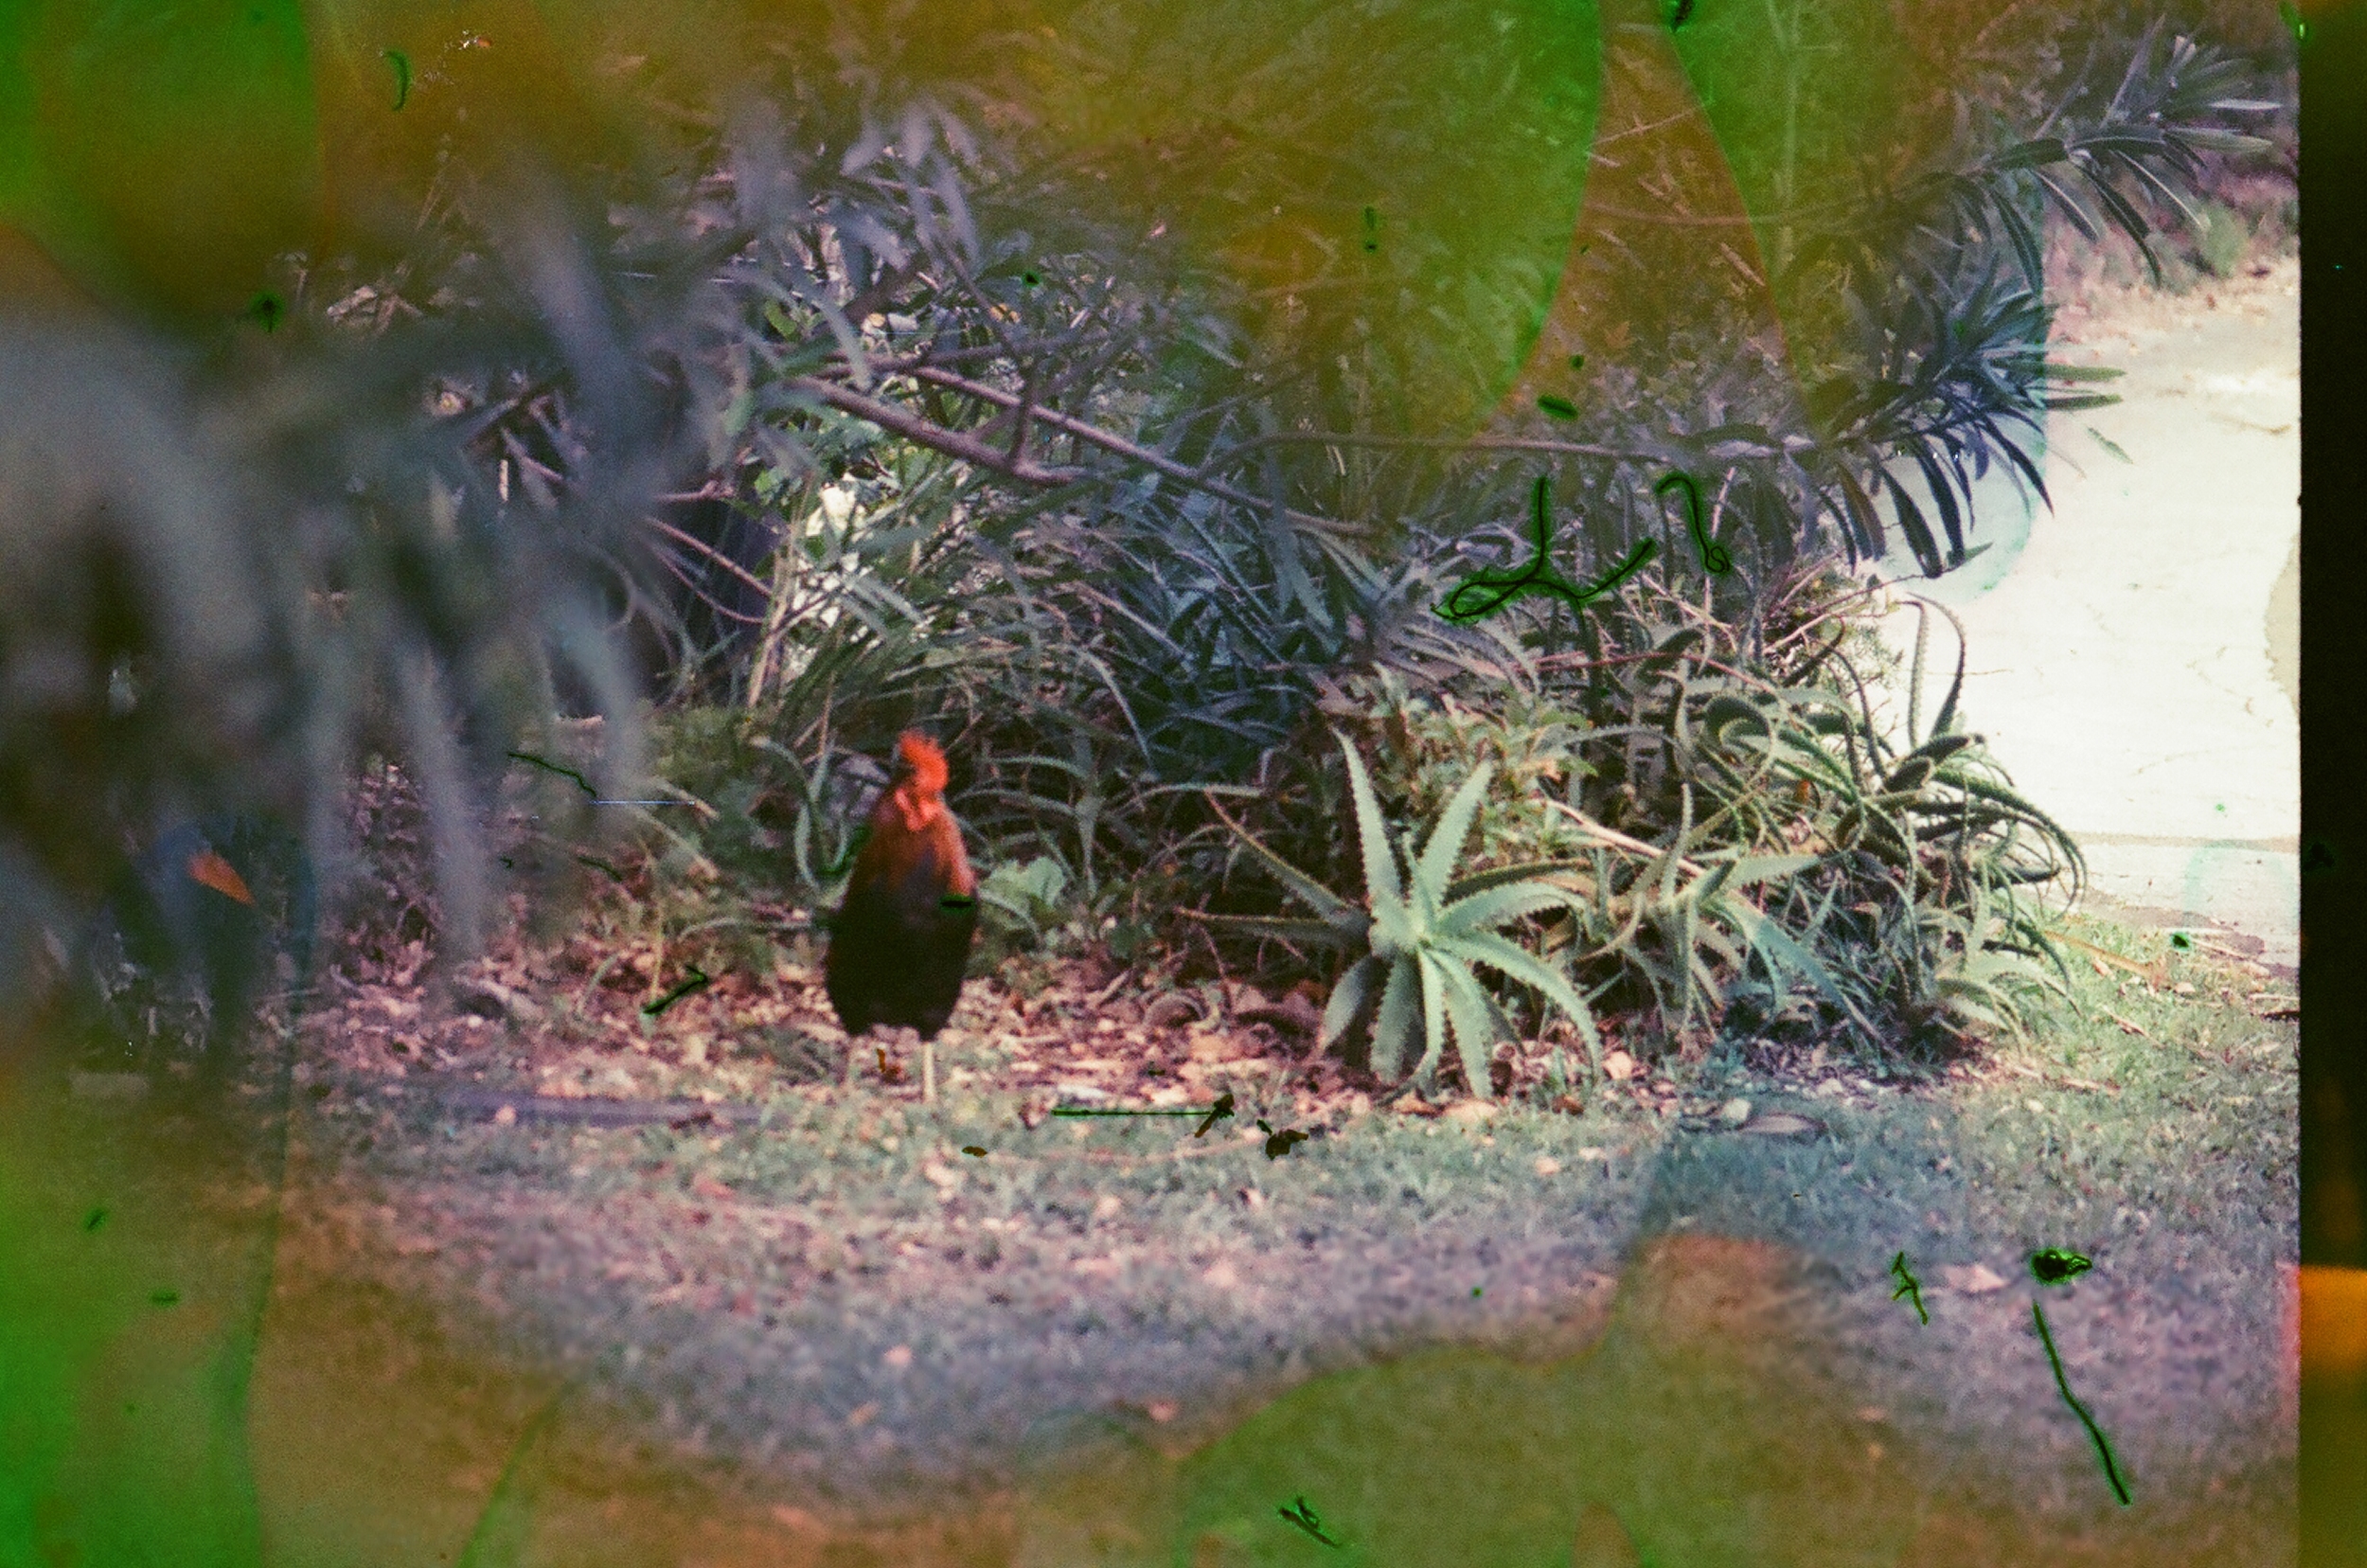
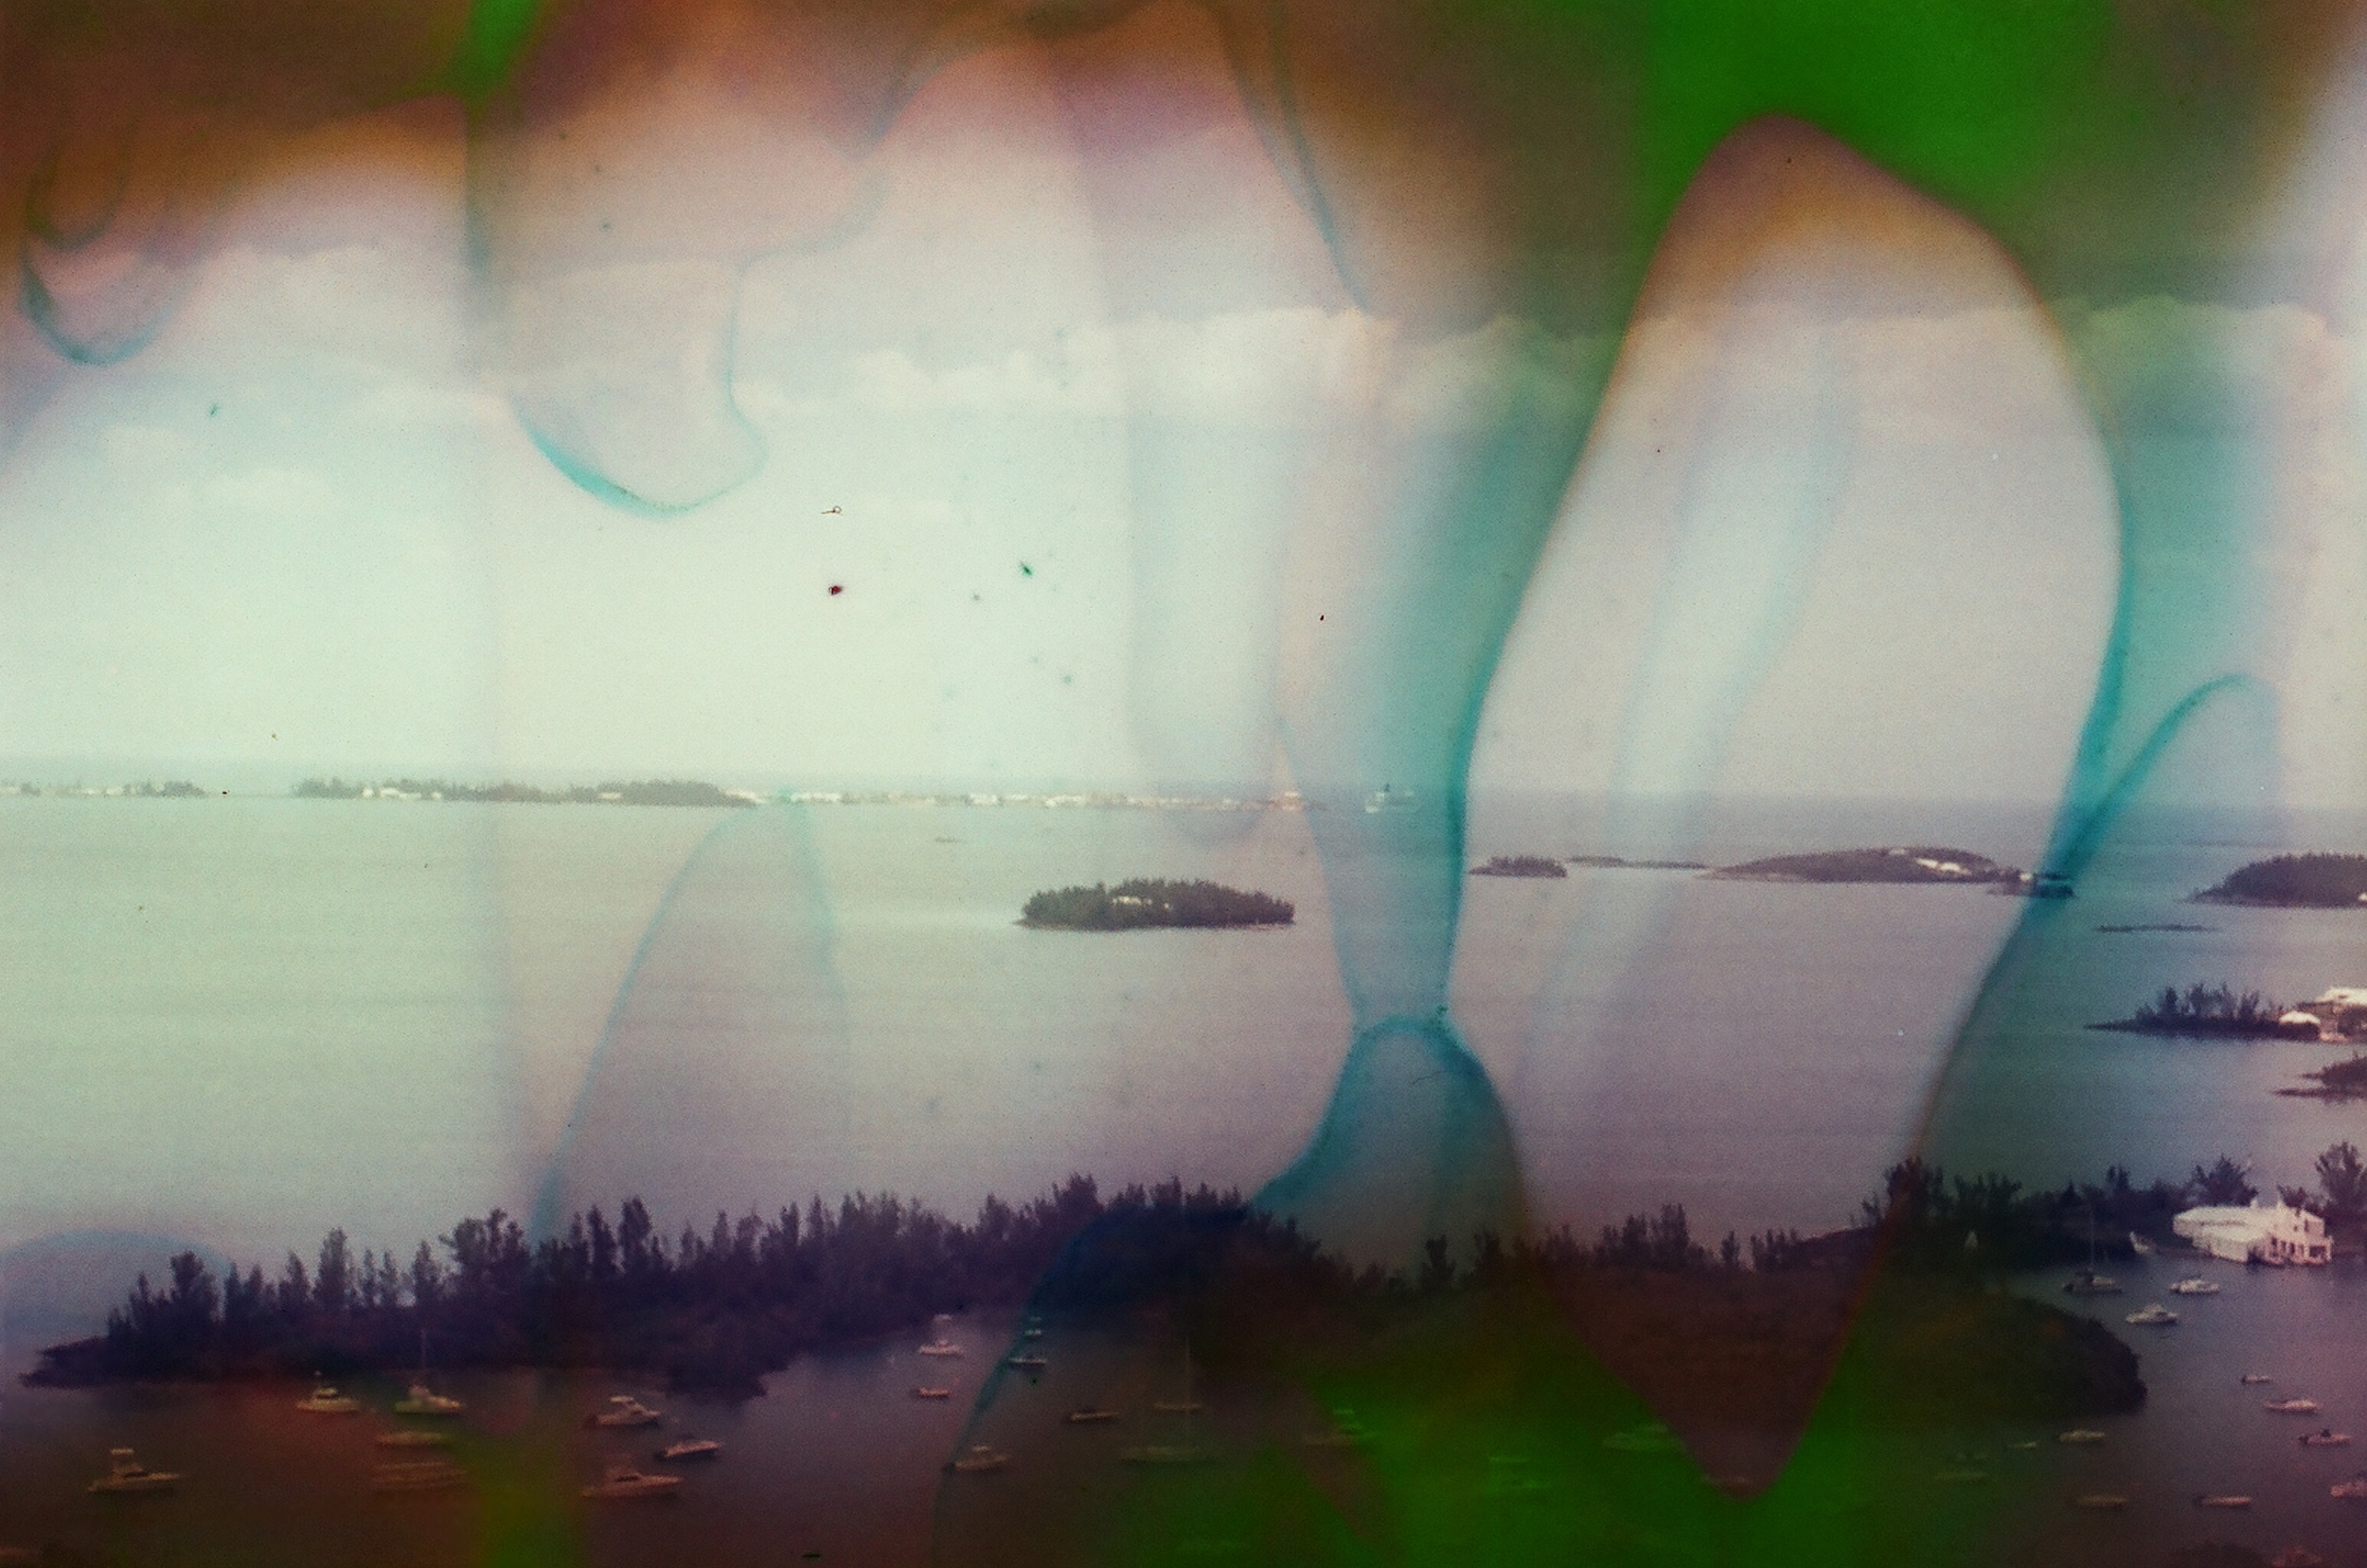
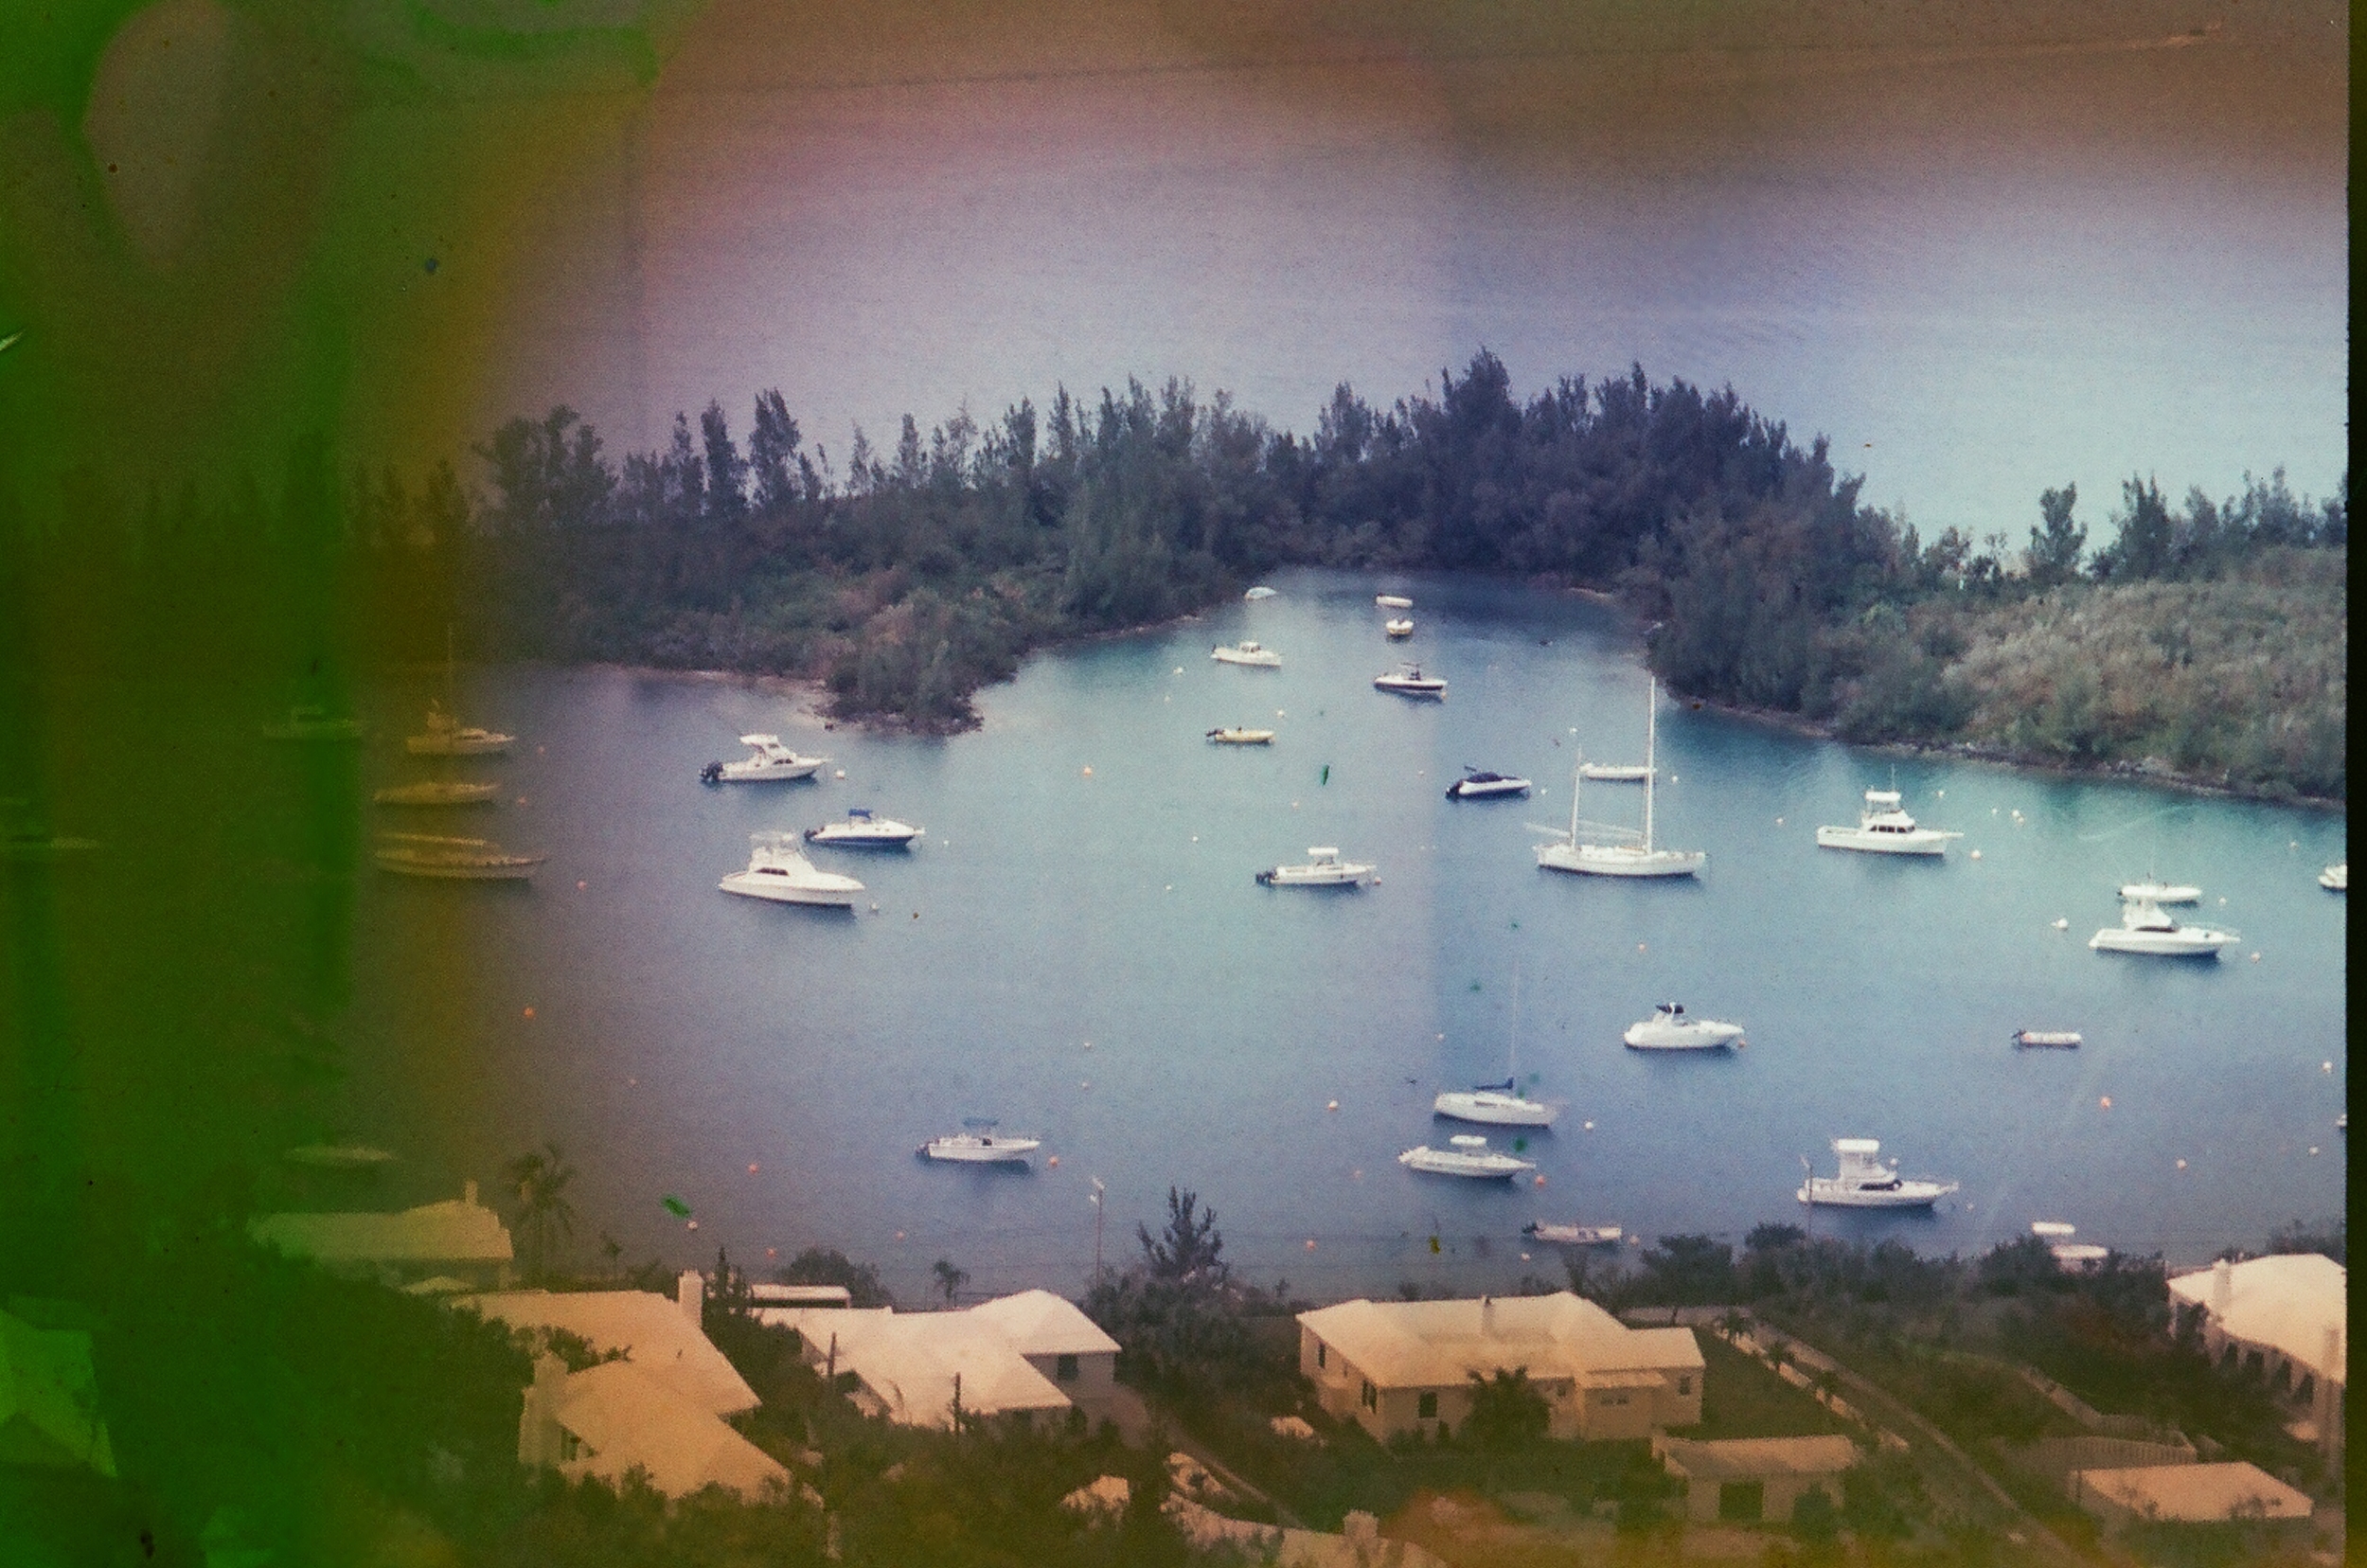
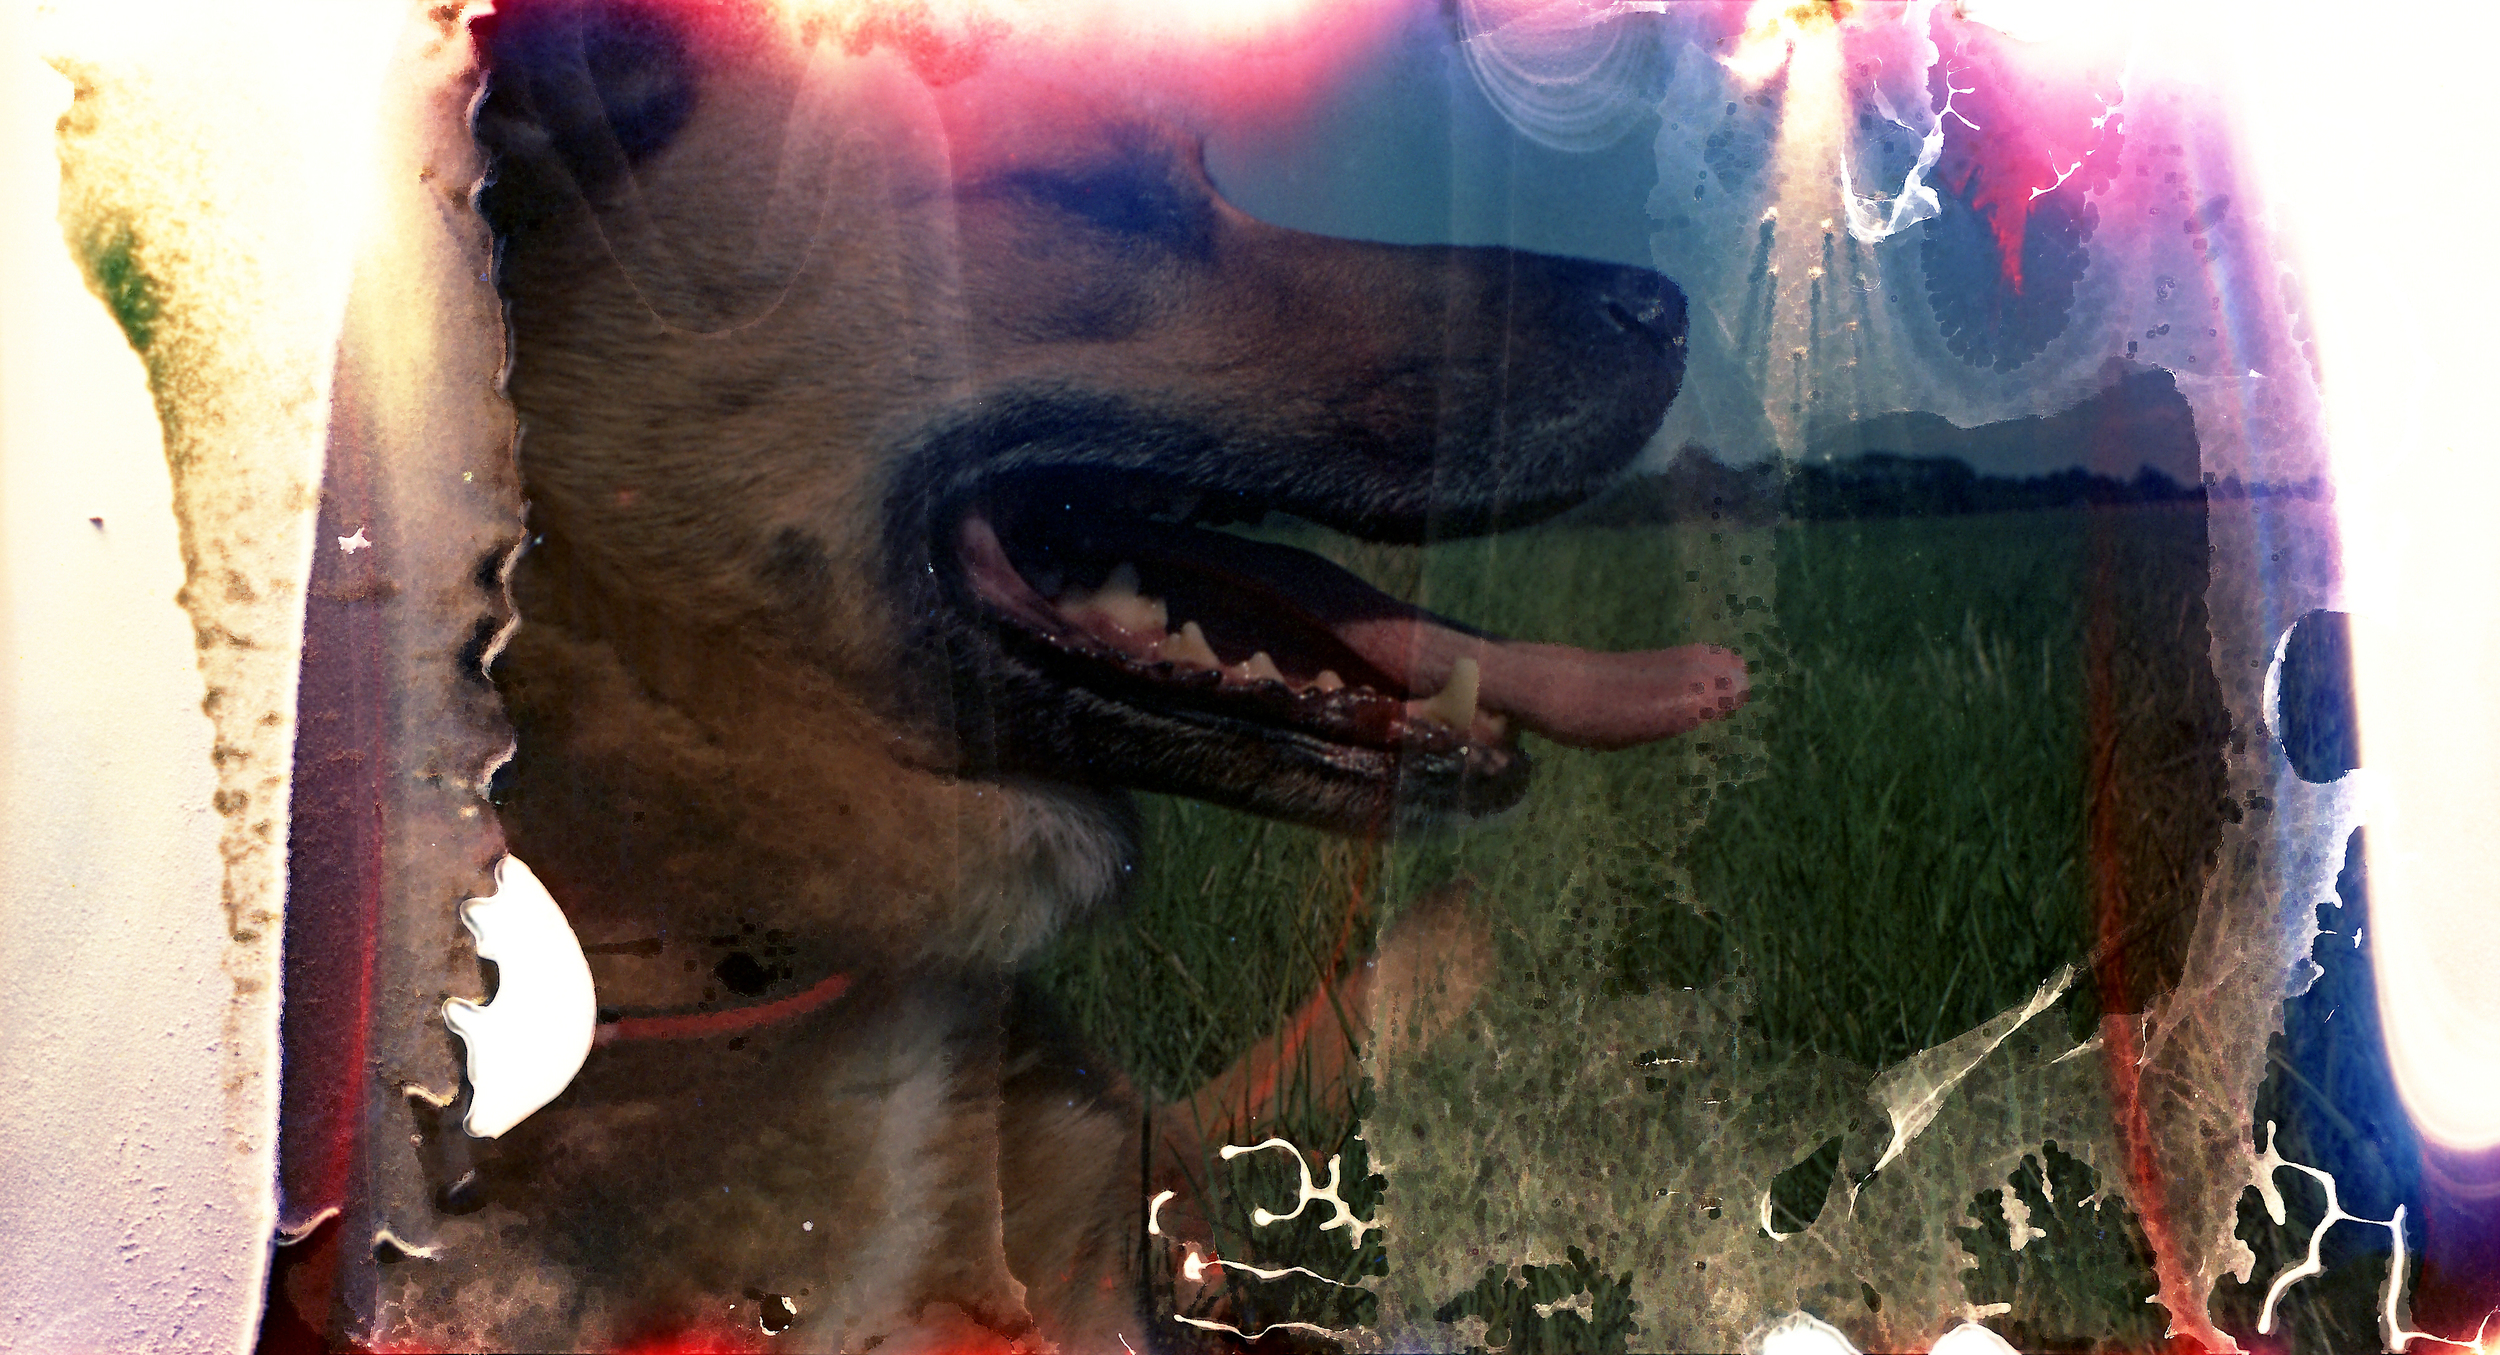
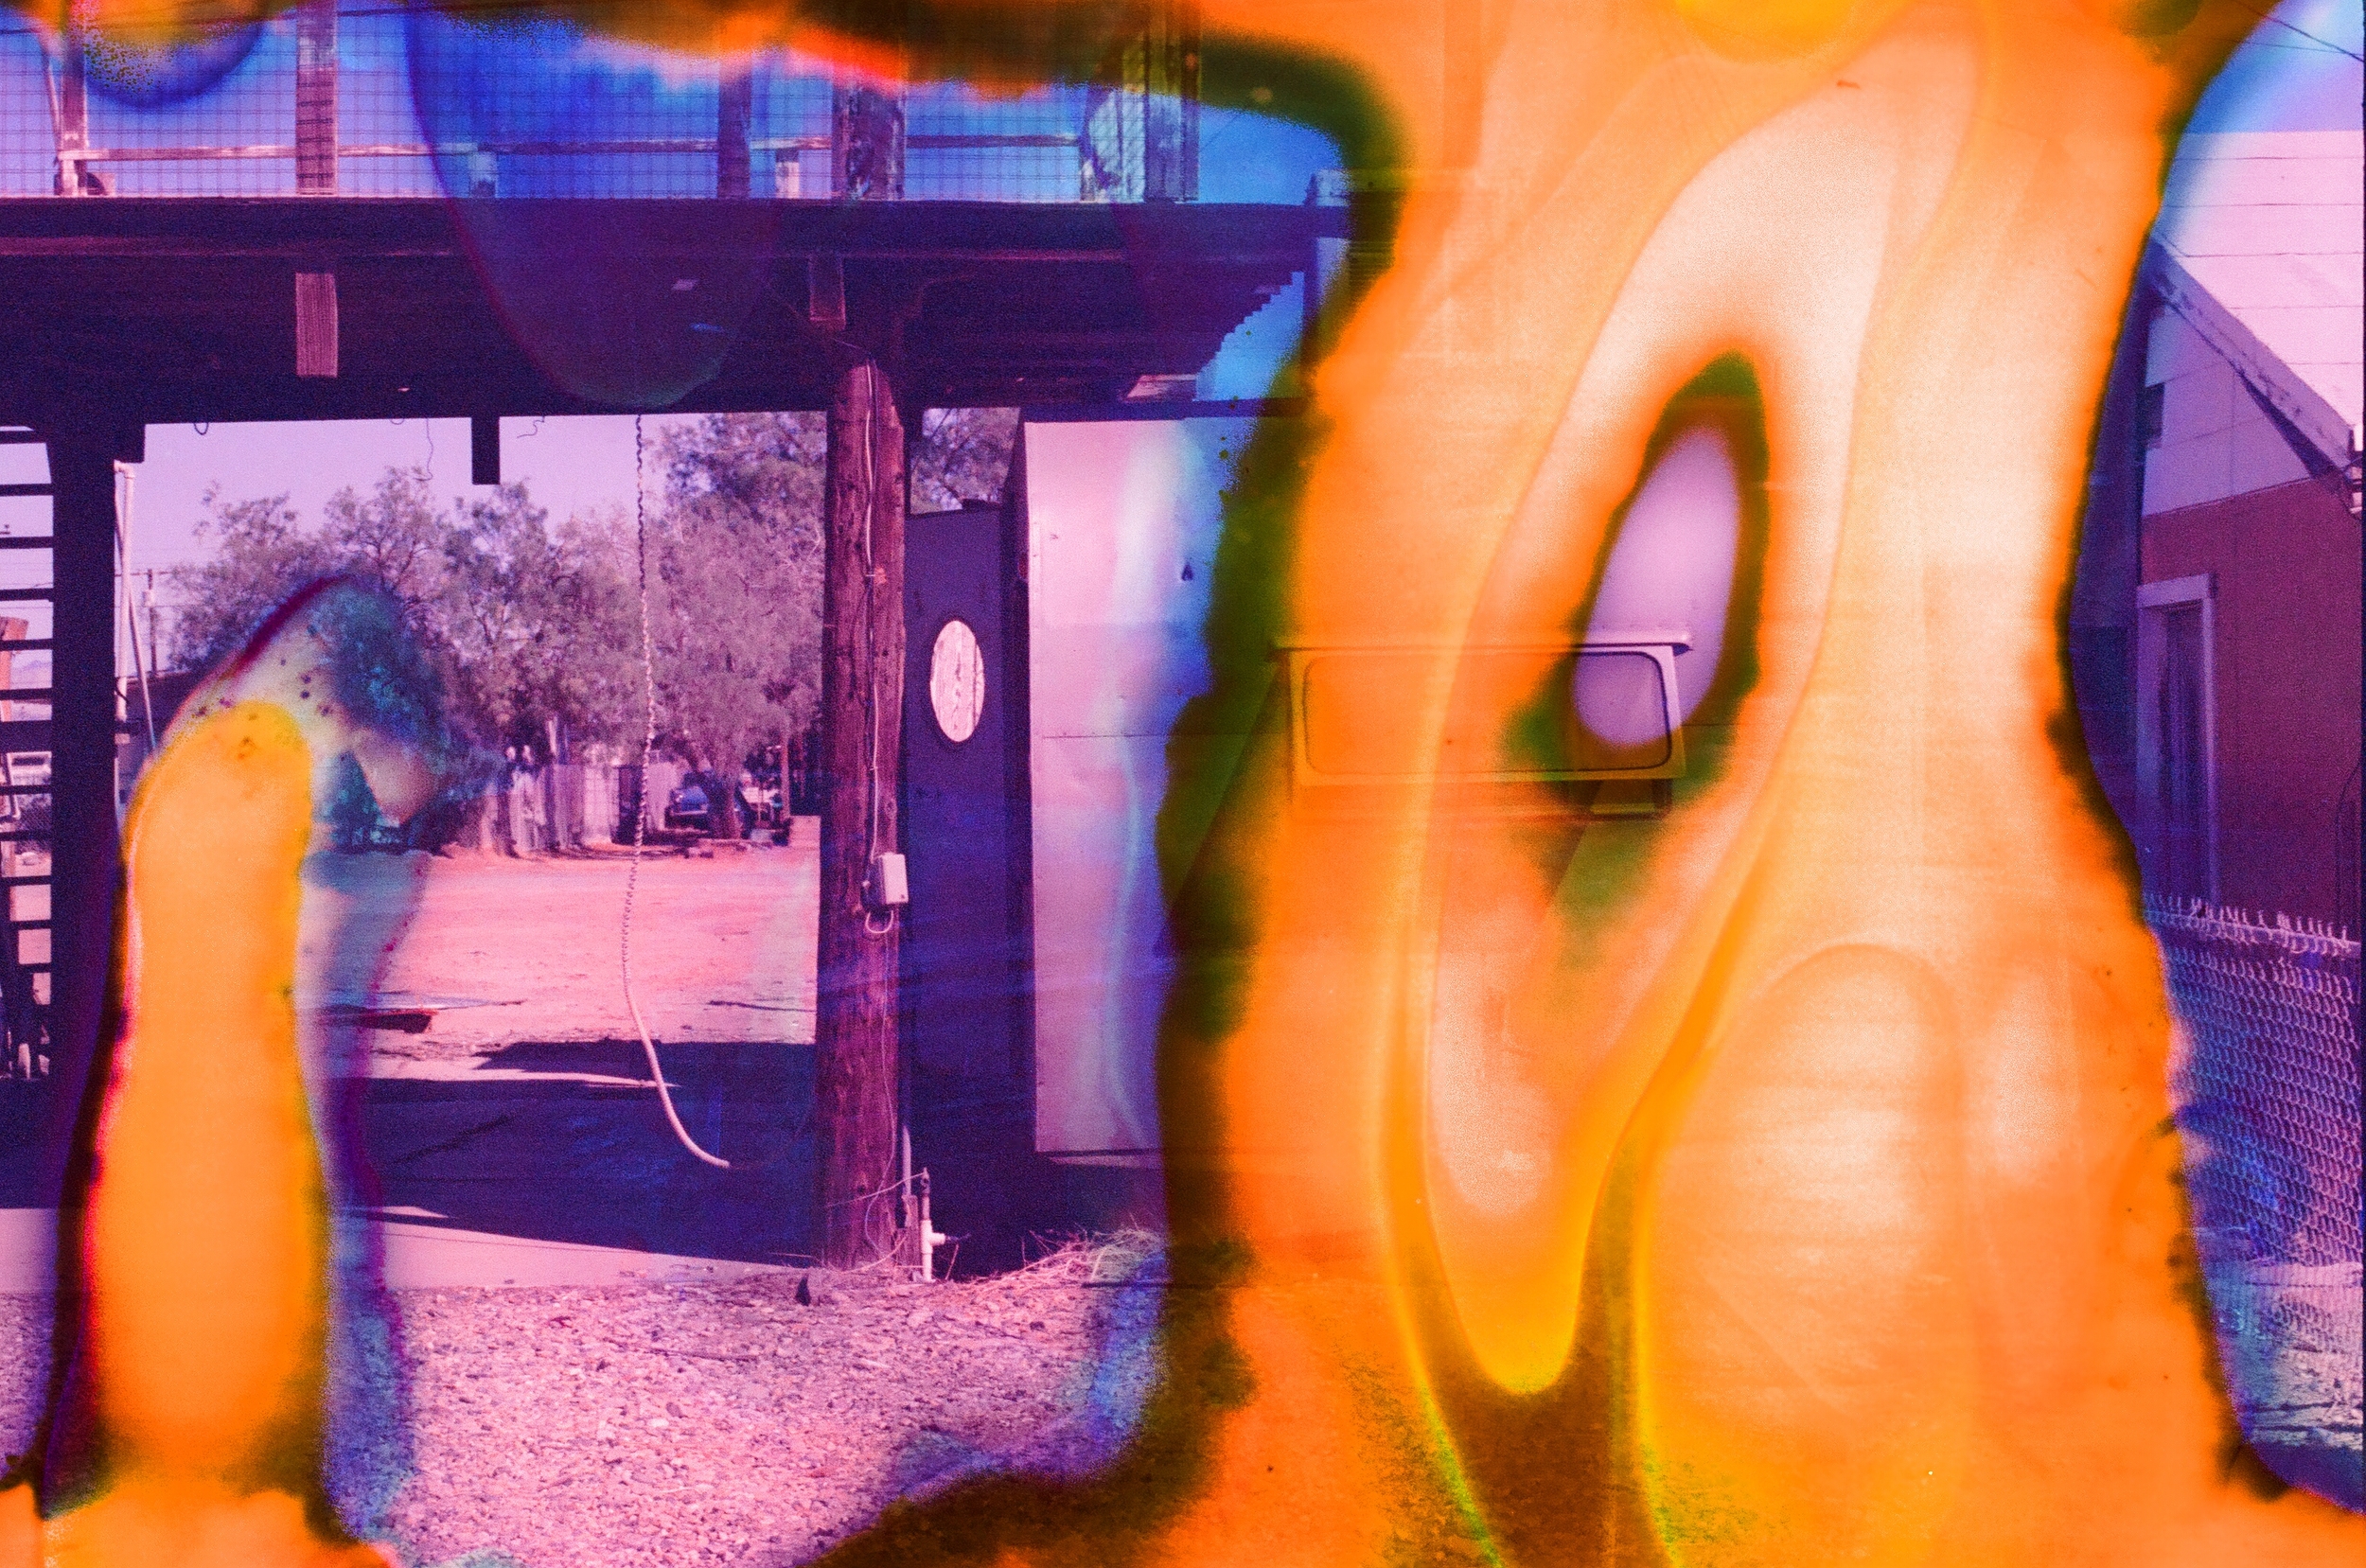
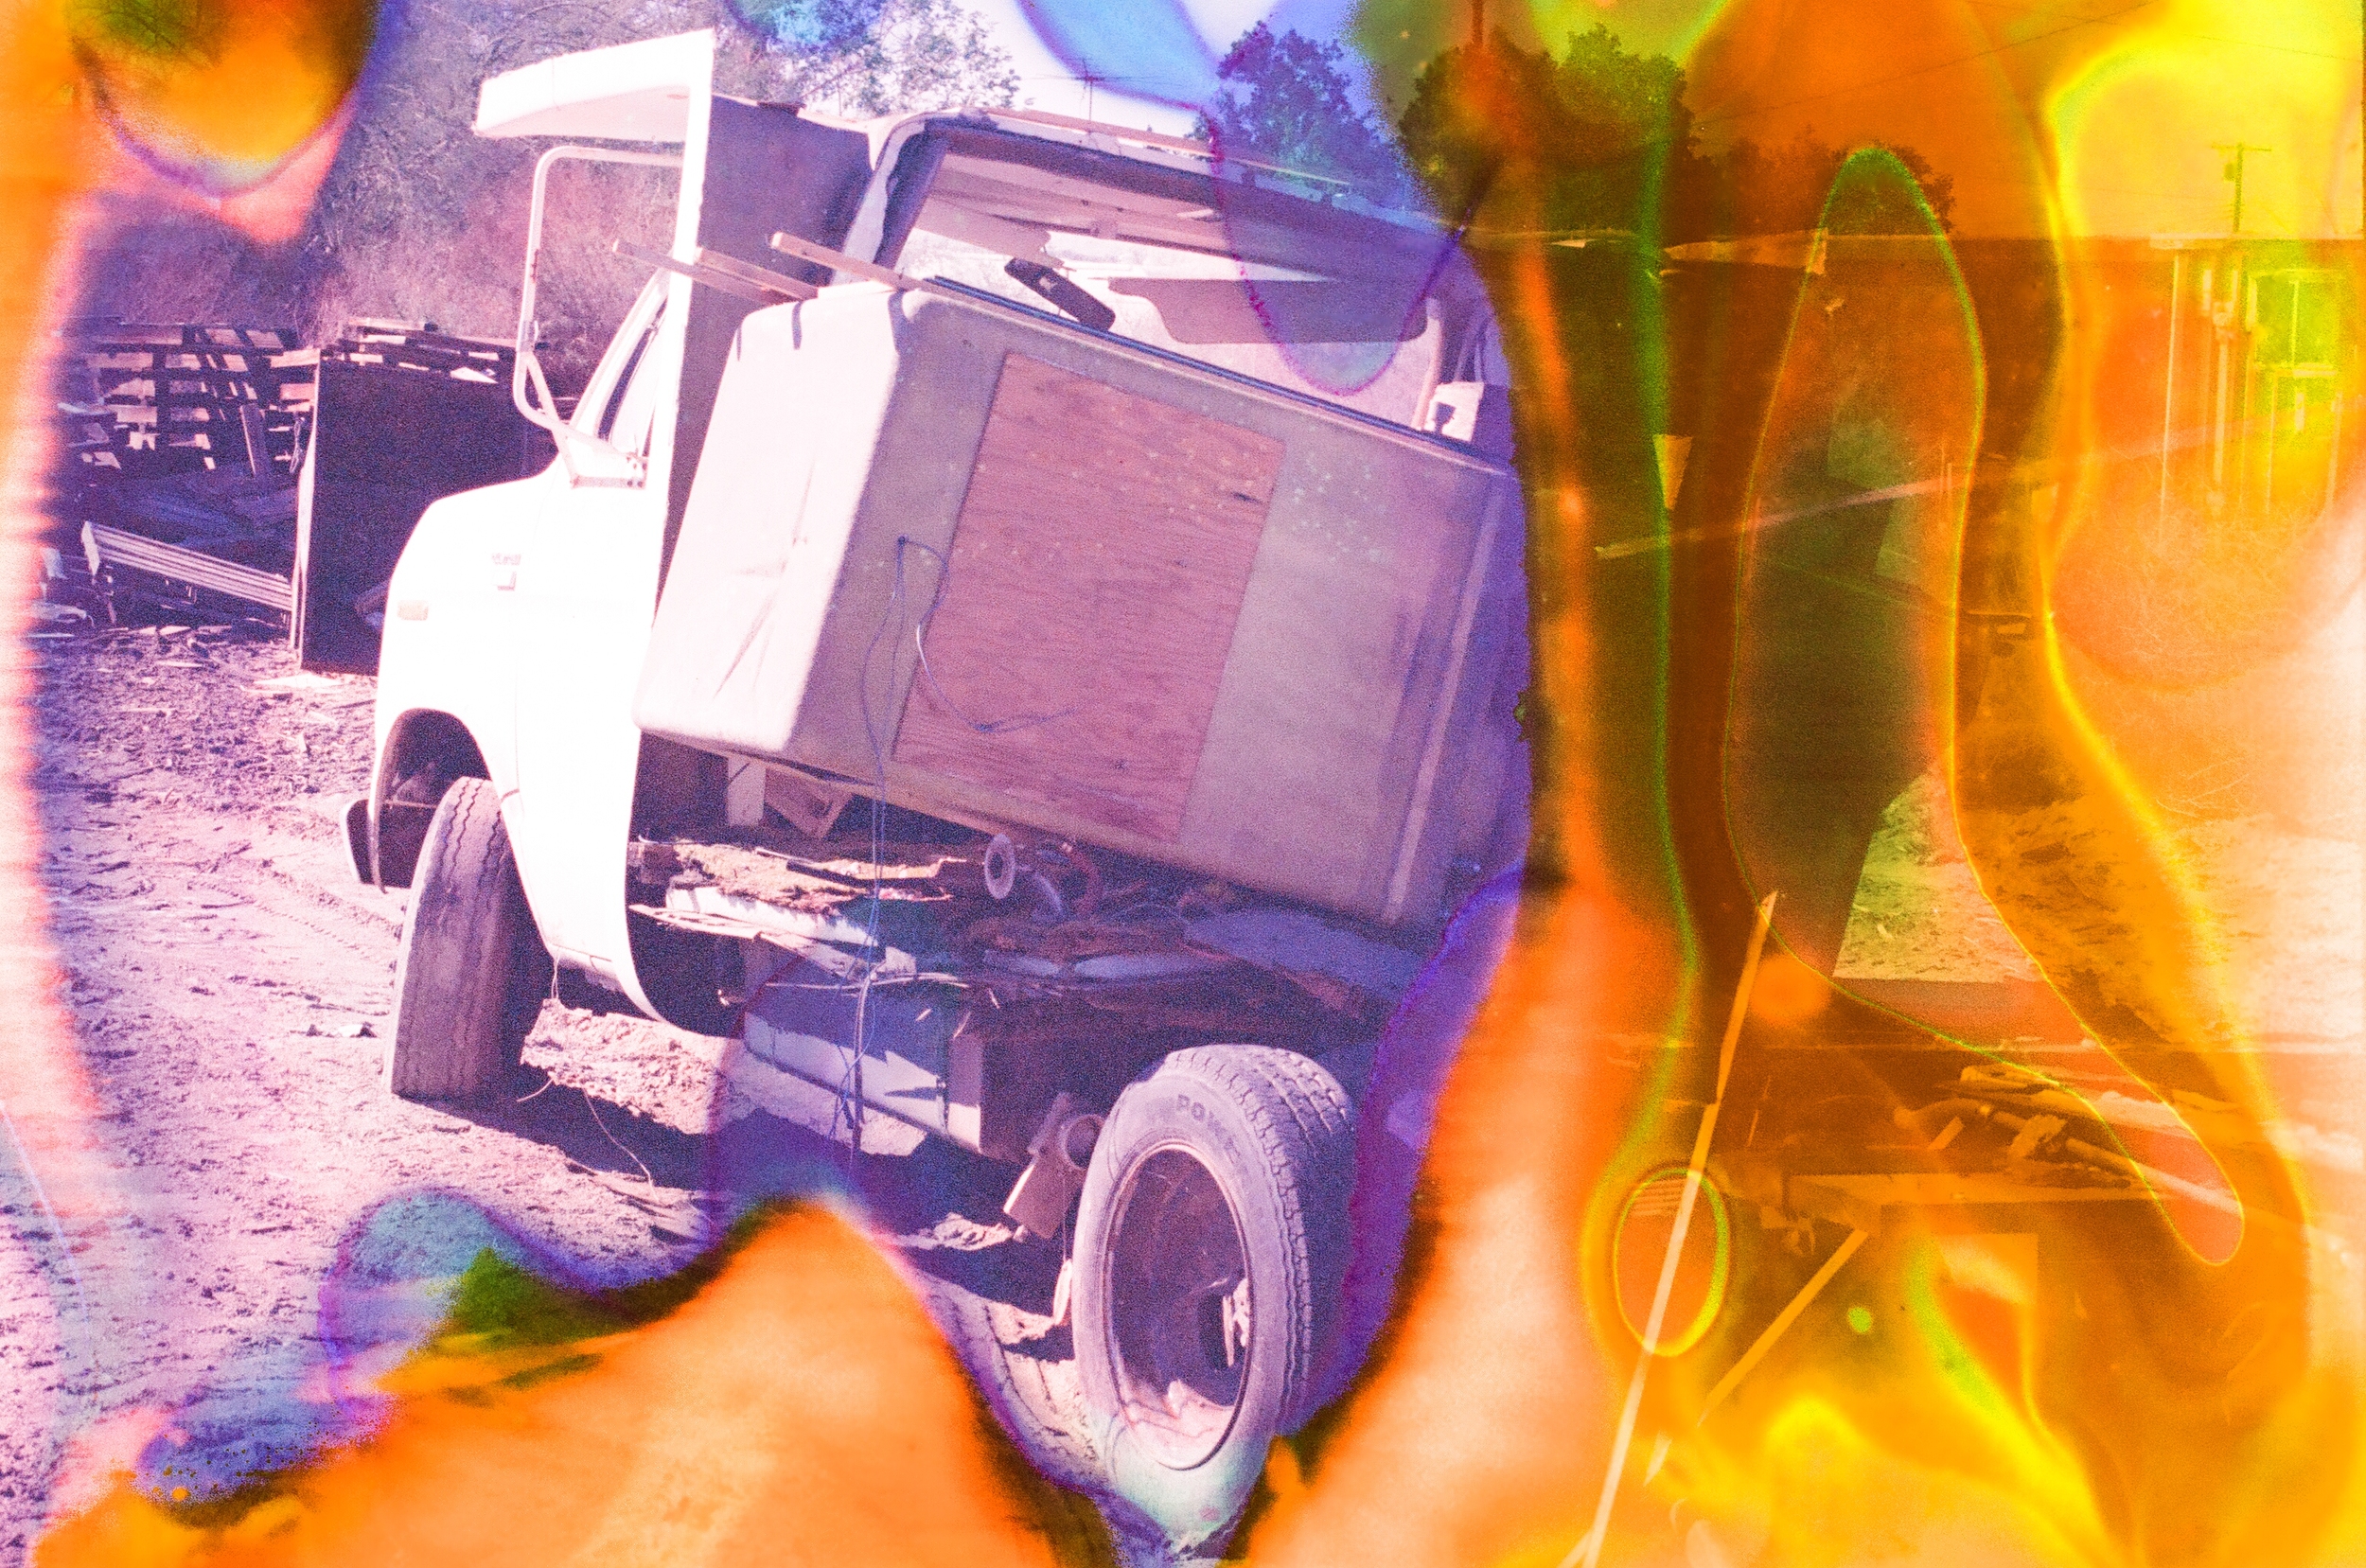
Photo by Barbara Murray - Velvia 50
Connect
Film enthusiasts and experimental geniuses Tom Evans and Barbara Murray are based in Wales and California, respectively. You can find more of their work on our website, or by clicking their names here. Also connect with Barbara on Instagram and Flickr.