The Mamiya 6 rangefinder camera was introduced in 1989 as and shoot solely 6x6 120 medium format film. It interchanges between 3 lenses, 50mm, 75mm and 150mm. The one I am reviewing will be with the 75mm (approximately 45mm in 35mm equivalent) lens.
APPEARANCE
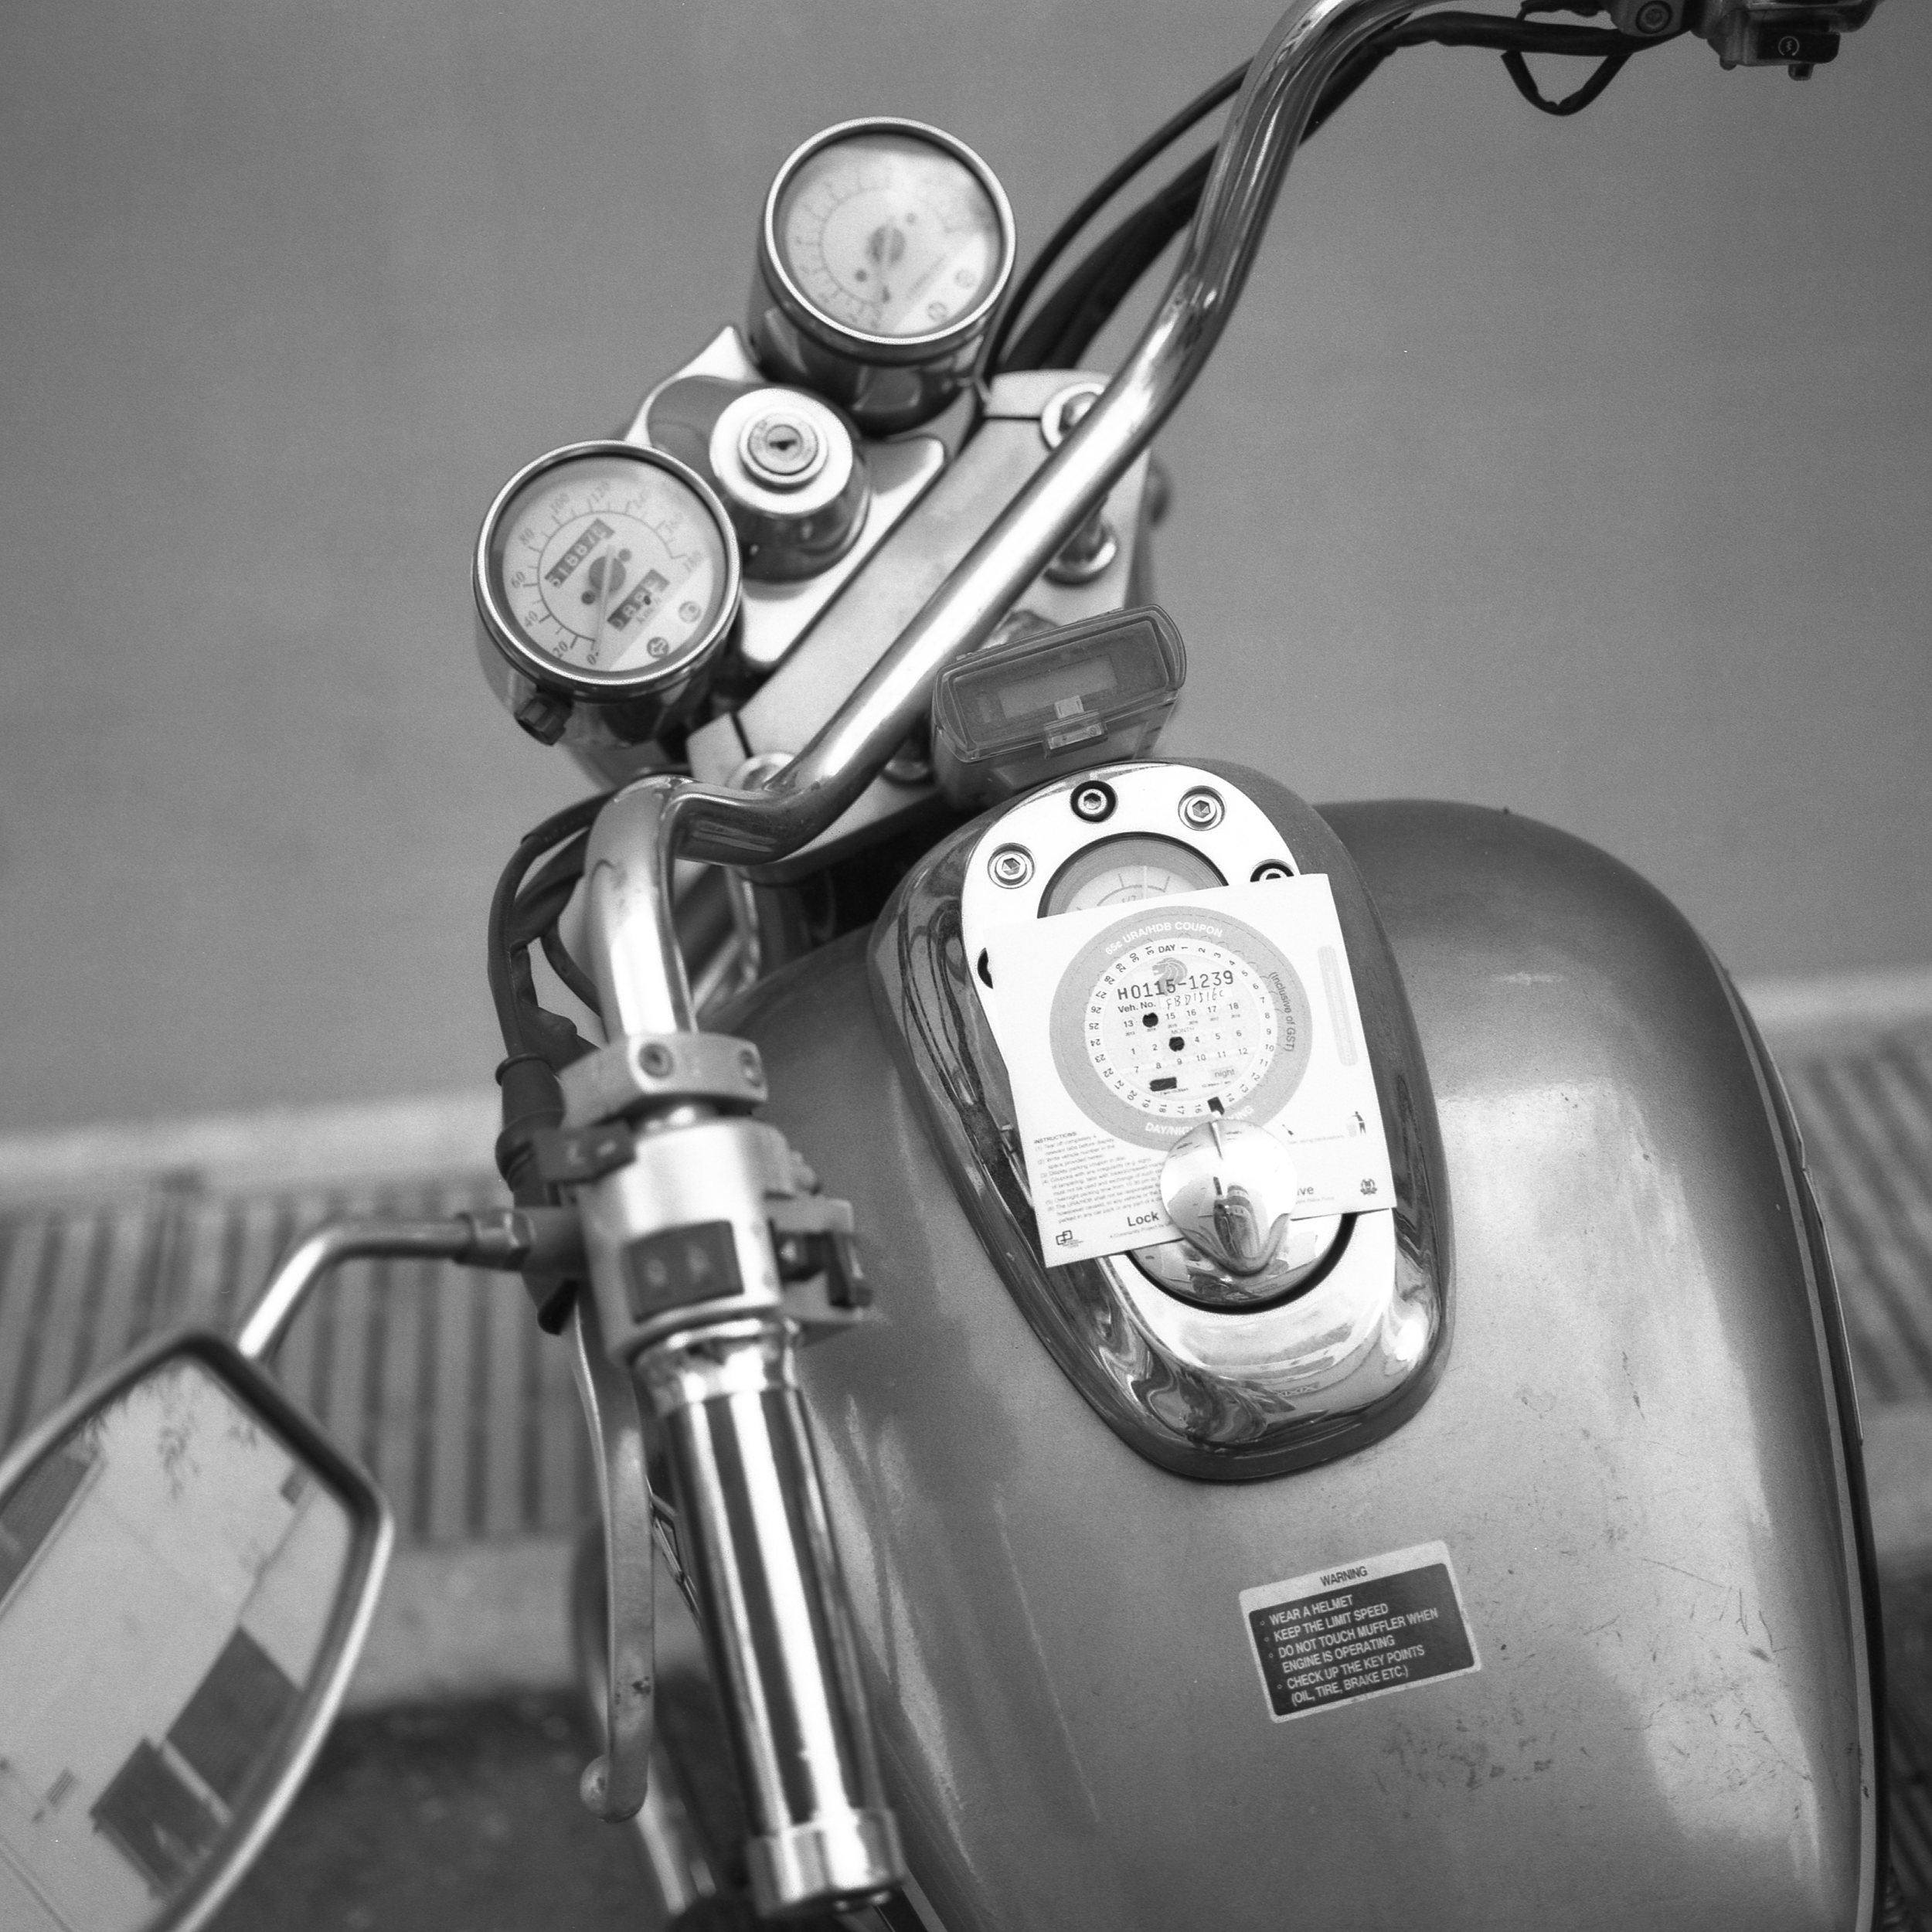
The camera has a collapsible lens mount which reduces the thickness profile, making it more compact. It looks like a standard rangefinder, except that it is slightly bigger. Ergonomically, the grip is of a suitable size (for my Asian hand), with the On/Off button, shutter release button and shutter speed dial all within reach of my index finger. There is a hotshoe for mounting electronic flash which allows any flash to be used with it. The front houses the retractable lens mount with the retract/extend button, lens release button and self timer lamp.
Top of the Mamiya 6 - Hotshoe, Shutter speed dial, Exposure compensation dial, ISO selection dial, Frame counter window, On/Off lever and Film advance lever
The back of the camera where the thumb usually rests also has an elevated ridge similar to a thumb rest. It makes holding the camera much more secure compared to a camera without it. There is a memo clip in the middle of the camera for you to insert a film box or anything to remind you of the film inside. There is also a self-timer lever and a synchro socket for flash. Interestingly, there are 3 strap lugs which allows you to carry in the standard upright mode or side mode. At the bottom, there are a few more additional levers as compared to a standard rangefinder. There is a light shield curtain closing lever which closes the back element of the lens during film changing. To release the curtain, there is a release button. And there is also your standard battery chamber and tripod mount.

Mamiya 6 back - Memo clip, Viewfinder, Self-timer lever, PC sync connector and Thumb rest

Thumb rest
FEATURE
One major feature which I personally like the most is the Auto Exposure (AE and AEL). So far, the light meter has served me well, even on slides. Very accurate and sensitive in my opinion. Instead of meddling with the shutter speed, I can set my aperture and let the camera handle the shutter speed. Perfect for street photography. Some may cringe on the idea of using a medium format camera for street photography, but I have no qualms using it for this purpose. I still suck at the Sunny 16 rule, so this feature works really well for me. Plus, a 12-exposure roll is perfect for me as a 36-exposure roll on my 35mm usually lasts me too long a time.
Shutter speed dial, EV compensation dial and ISO selection dial
The interchangeable lens system is also another welcome feature. With a 75mm lens, I am getting a 45mm (35mm equivalent) which is a good focal length for street photography. I am still trying to get my hands on an affordable 50mm (~32mm focal length in 35mm equivalent). I have always been a wide angle person, so hope to score that 50mm lens soon. As mentioned, there are 3 lenses for the Mamiya 6, namely the 50mm, 75mm and 150mm. So you get to choose if you want a wide angle 50mm or a tele 150mm.
These lenses have their own electronic leaf shutters! What does that mean? It means that shutter sound is very silent (almost non-existent!). Perfect for street photography! And because of the leaf shutter, there is less of the shutter slap which means you can hand held the camera at even 1/30 second (that is the limit for me). For those with very steady hands, 1/15 second or even slower speeds may even be possible. And since it is a leaf shutter system, flash can sync at all speeds using either the hotshoe or PC sync connector.
Leaf shutter
HANDLING
Holding the Mamiya 6 in my hand feels good for my Asian hand. Just the right size, all my fingers can go around the grip comfortably. The body and the 75mm lens both weigh a total 40.2oz or 1,140g. A manageable weight for me on a wrist strap. Using the neck strap to suspend the camera upright is manageable, but I have to admit it does get a little tiring on the neck after prolonged use. If you hang the camera sideward using the 2 lugs on the same side of the camera, you will notice that the grip side of the camera is unobstructed. This allows faster transition from lugging around the shoulder to shoot mood in a flash.
Upright neck strap
Side shoulder strap
Extending the lens out from its retracted mode is a breezer. Just push the extend button and pull the lens outwards until you hear a click. Retracting the lens is just the reverse. Easy peasy! The 75mm lens takes easily available 58mm filters and also comes with its dedicated lens hood. The lens hood that comes with the lens is a neat accessory with labels telling you where exactly to insert into the lens for both usage and storage purposes. Don’t ever get one without the lens hood! The hood is a standard accessory of the lens! I will talk about the lens performance later.
Retracted mode
Extended ready to use mode
To keep the lens hood, reverse it and follow the labels
To use the lens hood, follow the labels to align with the red line on the lens
Loading the film is relatively simple. Before opening the film door, I would usually activate the light shield curtain to close the rear element of the lens. This is done by turning the light shield curtain clever to the Open/Close indicators. This is to protect any dust/particles landing on the rear element during film loading/unloading. Once the light shield curtain is closed, push the film door release button and slide down the lever to open the film door. On the pressure plate, you will see a dot and the 120 and 220 labels. Rotating the pressure plate will select the film used. I read online that selecting the wrong film type will result in slightly off focused images.
Light shield curtain opened
Closing the light shield curtain
Light shield curtain closed
Push the orange spool release lever on both sides and transfer the empty spool to the right. Once the empty spool is in, push the spool knob located at the base of the camera up. This will lock in the spool. Next, take a roll of film and insert into the left and push up the spool knob. Once locked in, pull the film leader towards the empty spool and wind the film advance lever to bring the film starting indicator on the camera to alignment with the starting arrow on the film backing paper. Close the film door and remember to release the light shield curtain by sliding the light shield curtain release lever along the direction indicated. Switch on the camera by turning the On/Off button to align both the white dots. In the Off mode, the red dot should be aligned with the white dot. You are now ready to shoot!
Push the orange lever to release the spool

Now that the spool is released, the spool knob will pop out. Insert a new spool and push the knob in to lock the spool
Since the Mamiya 6 has the AE/AEL function, I have never used any manual shutter speeds (yes, you can call me lazy). With the AEL function, even with back lighting, I can lock down the shutter speed of the spot I metered and shift my composition. A neat feature! As mentioned earlier, the meter so far had been accurate for me, either indoor or out in the gloomy environment. There is also the bulb mode which works well when you need the long exposure.
Focusing is easy with a 0.7x magnification, big and bright viewfinder and frameline. Both the viewfinder window and focusing patch are big and bright, so no problem focusing even with a spectacled person like me. However, shooting in strong light may mask out the shutter speed reading in the viewfinder. The frameline is set by the lens, so no need to meddle with the selection. In the viewfinder, you will find the standard focusing patch in the middle. Otherwise, the shutter speed is usually clearly visible. On the left side, you will see the shutter speed indicator, with an ‘Up’ arrow indicating over-exposure. On the right side, there is only a red dot indicator that will light up when 1) the shutter is not cocked, 2) the light shield curtain is not opened, 3) the lens is retracted or 4) when the film is not loaded. Very neat feature in my own opinion! In addition, the lens hood for the 75mm lens does not block the viewfinder.
Bright frameline and focusing patch. The lens hood at the bottom right is also not blocking the view.
Next, I am sure everyone is curious about the lens. The 75mm f/3.5 is a well-balanced lens. Not too heavy or light, just a nice solid weight at about 8.8oz or 250g. The build is very solid and the focusing and aperture rings are nicely spaced out. For my copy, the focusing ring is buttery smooth and the aperture ring clicks into place nicely. The minimum focusing distance for the 75mm lens is 3.3ft or 1m. The lens has both the feet and meter scale. One thing I wish for the 75mm lens is to be a f/2.8, but it is a f/3.5. Nonetheless, it is a very sharp lens! Sharp throughout all the apertures! See the images below for yourself.
I do not possess (yet) the other 2 lenses (50mm and 150mm). But as far as I know, they are of very high quality! They also also heavier than the 75mm.
One major complaint (could well be the only major one...) I have about the Mamiya 6 is the single stroke film advance lever. You need to wind a long way to the next frame. I may have a small/inflexible thumb for it. Unlike my 35mm rangefinder, I can put the camera to my eye, shoot and advance the film without putting the camera down. For the Mamiya 6, I can’t do that. I need to lower the camera down so that my thumb has enough space to wind the lever. It is more than a 180 degrees turn! If you hang the camera upright using a neck strap, the strap will hinder the film advance lever. Other than the wide angle of film advance, the operation of advancing the film is pretty smooth.
Depressing halfway the shutter release button will light up the shutter speed indicator in the viewfinder. A full press will fire the shutter. There is almost no shutter lag! As mentioned, the electronic leaf shutter system is very silent. The shutter sound sounded like a very soft “click”. I measured the decibel with my phone app (same app that measured the shutter sounds of my Bessa R4M and Leica M6TTL) and the reading was 68 decibels. Again, in a real world usage on the streets, the shutter sound is unnoticeable. Somehow, it is a joy/ecstasy to hear that “click” when the shutter release button is pressed. It is probably just me...
After 12 exposures on a 120 film, the camera will not fire anymore. There is no rewind crank. You can only advance the film advance lever until the film finishes. The frame dial window is a slanted rectangular window just positioned above the film advance lever, similar to the Bessa R4M which I reviewed earlier. The window does get blocked sometimes due to the positioning but it is not a major issue.
The Mamiya 6 is a 6x6 camera. So you do have to get used to shooting in square format. There is another version of the Mamiya 6 with multi-format (Mamiya 6MF) which allows you to interchange between 6x6 and 6x4.5. I don’t see the need for the multi-format. Just crop from the 6x6!
Lastly, the price of the Mamiya 6 with the 75mm lens might put some people off. This combo goes from USD$1200 to USD$1700 depending on condition. I got mine at the higher spectrum of the price list as the one I have is in immaculate condition. I did consider selling my mamiya 6 but I pulled out after looking through the images I got from this fantastic combination. This will probably be the last camera on my list to sell.
PERFORMANCE
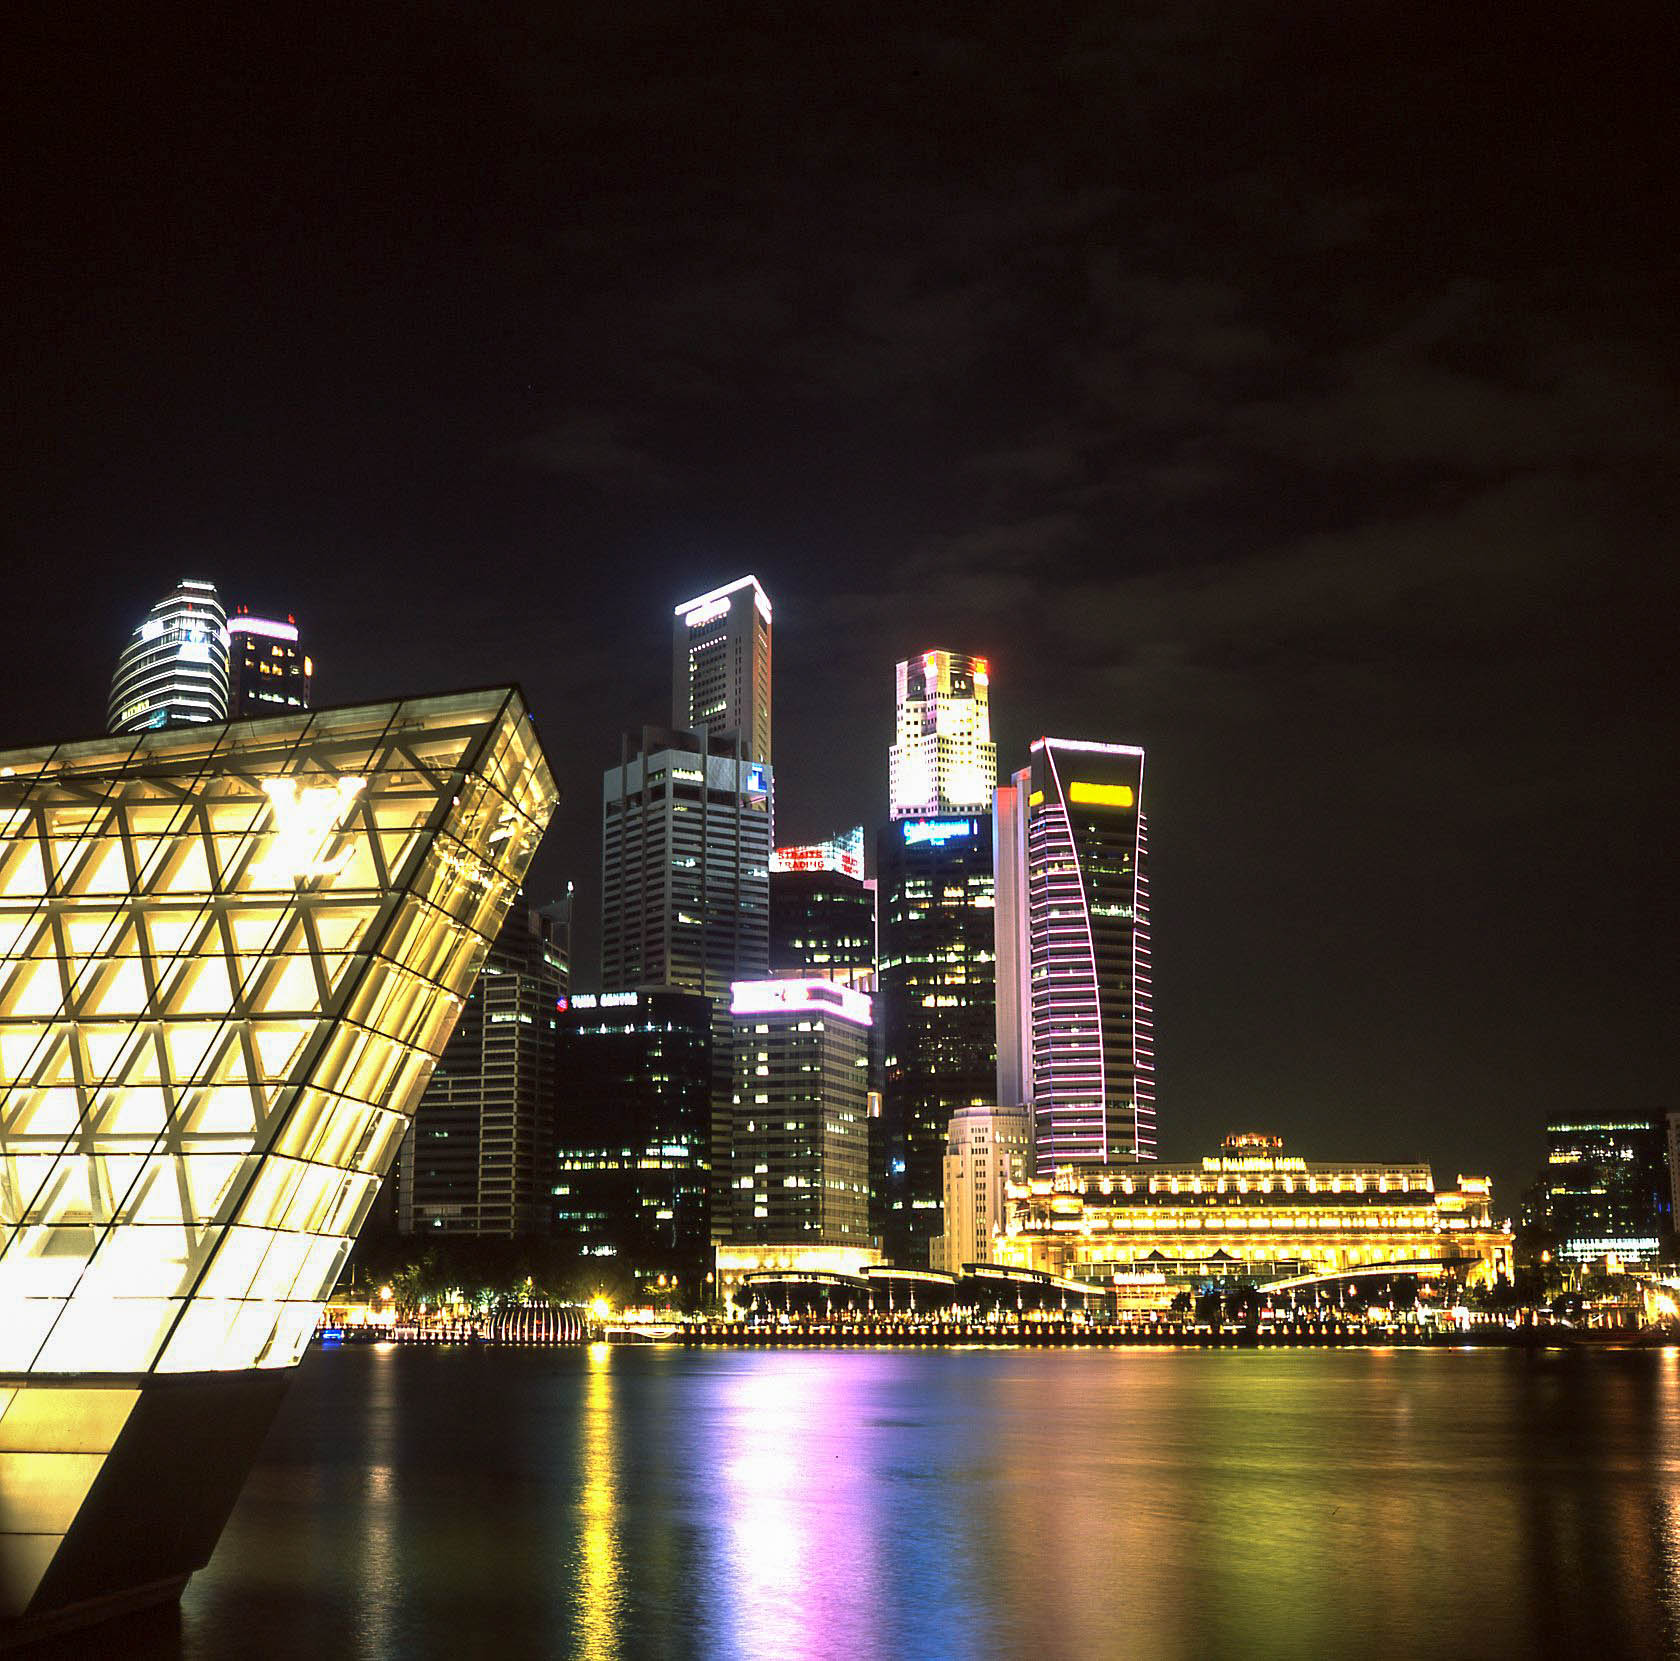
I have no complaint about the lens. It is a joy to use the 75mm lens, with buttery focusing and sharp images produced throughout all apertures. I have attached several images for your viewing/drooling pleasure with detailed information of the films used! Scanner used is Epson V600 with no adjustment made at all. Just straight scan out of the scanner.
Multi-coated lens
All in all, the Mamiya 6 is a highly recommended medium format camera in my opinion, only if you are willing to part with an average of USD$1500. But I guarantee that you won't be disappointed with this beast of a camera. For the price, you get a medium format rangefinder with a plethora of features such such a bright viewfinder and frameline, AE function and silent leaf shutter! The high quality lens coupled with 120 film will deliver to you images you won't forget or be disappointed.
Portra 400
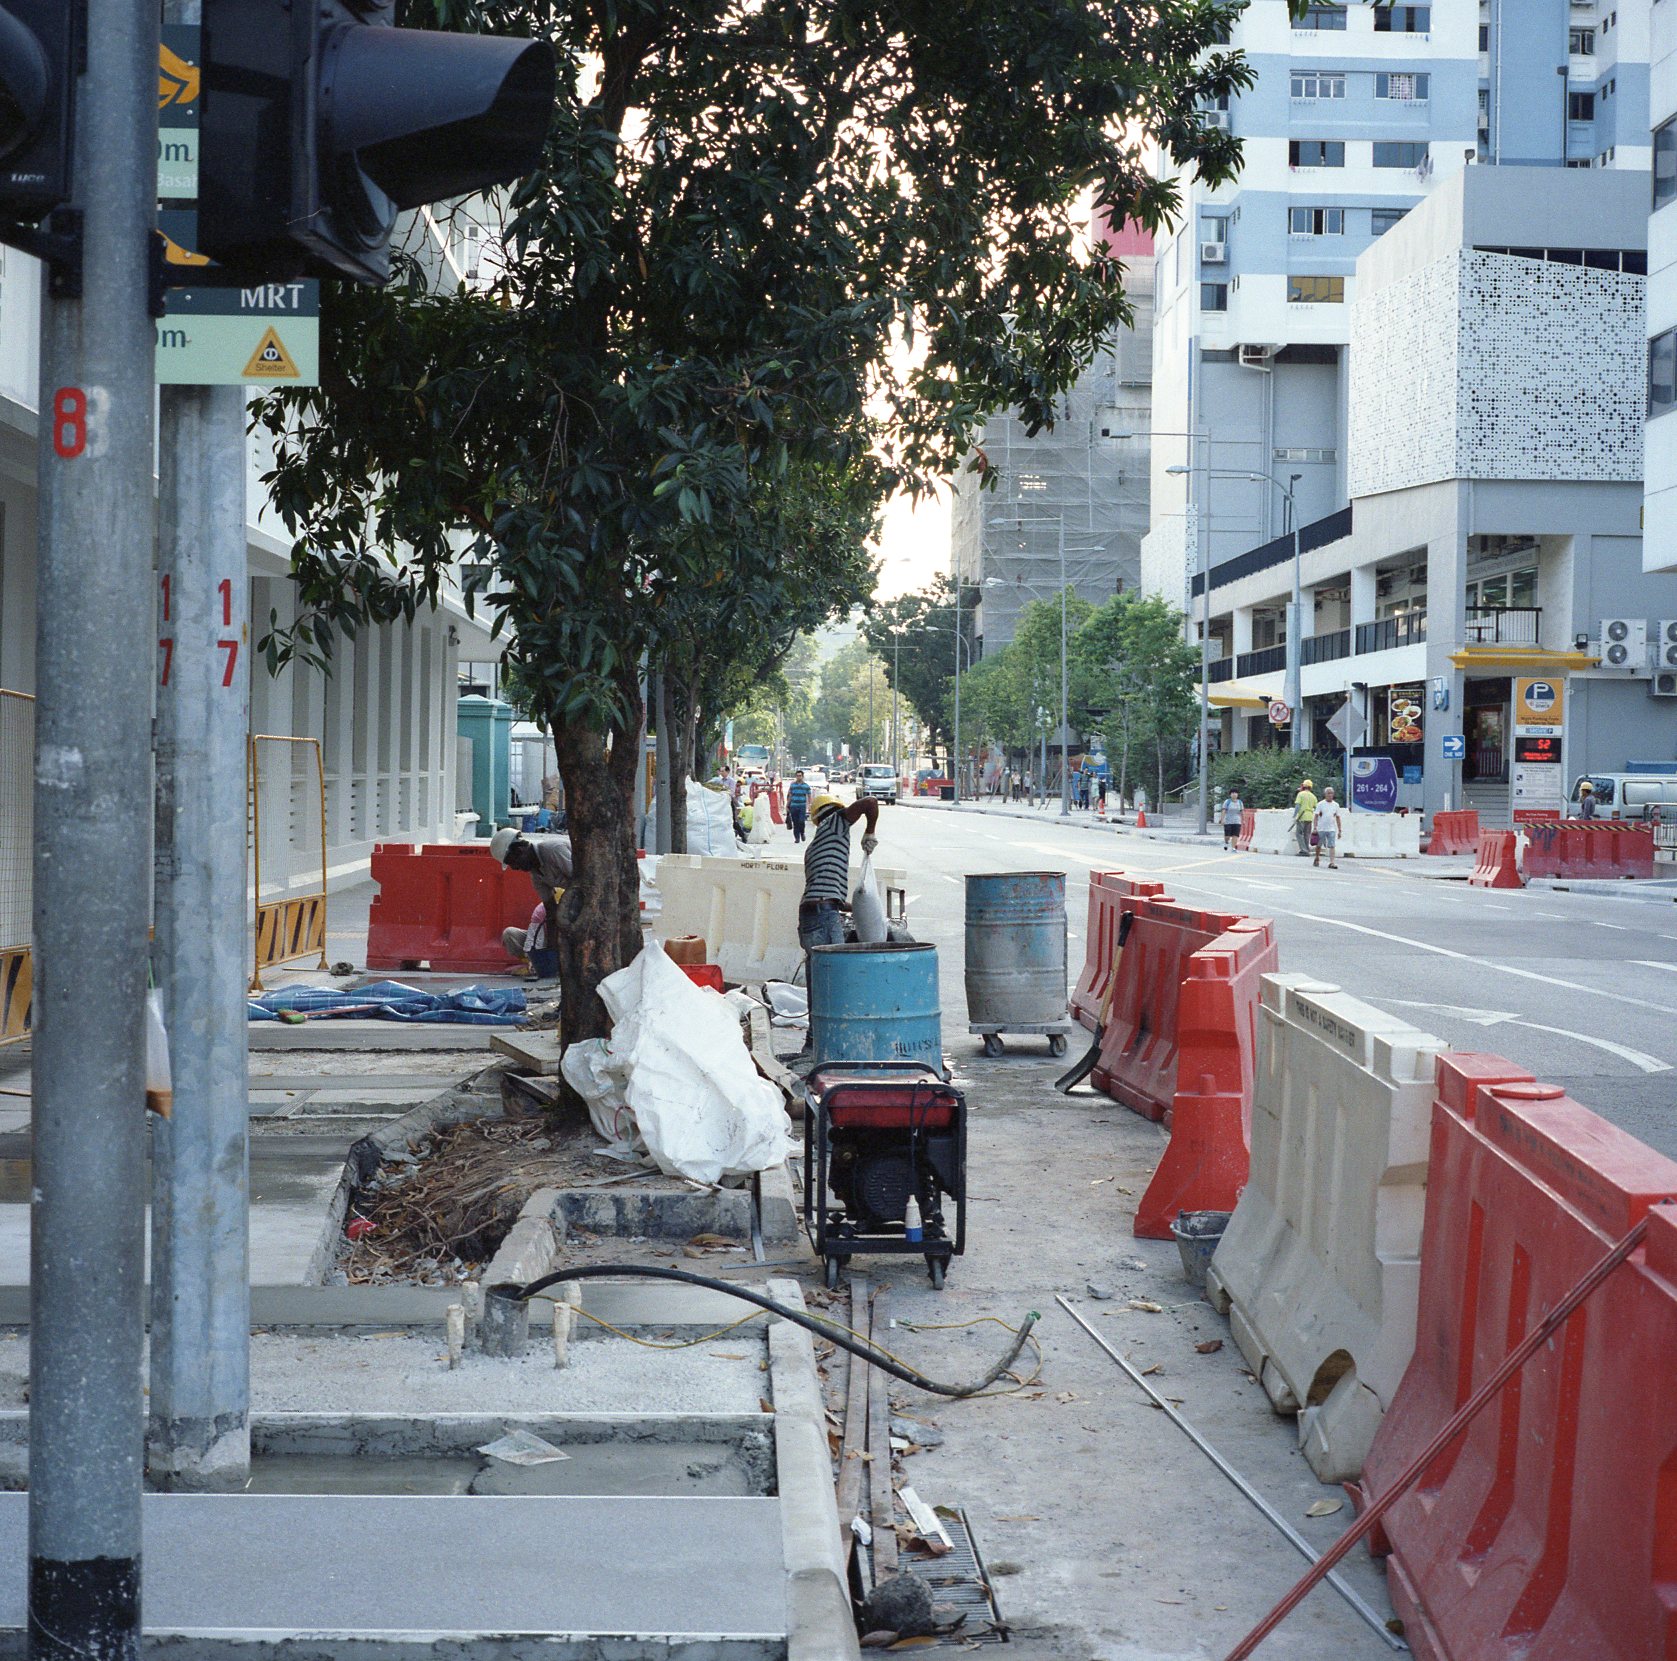
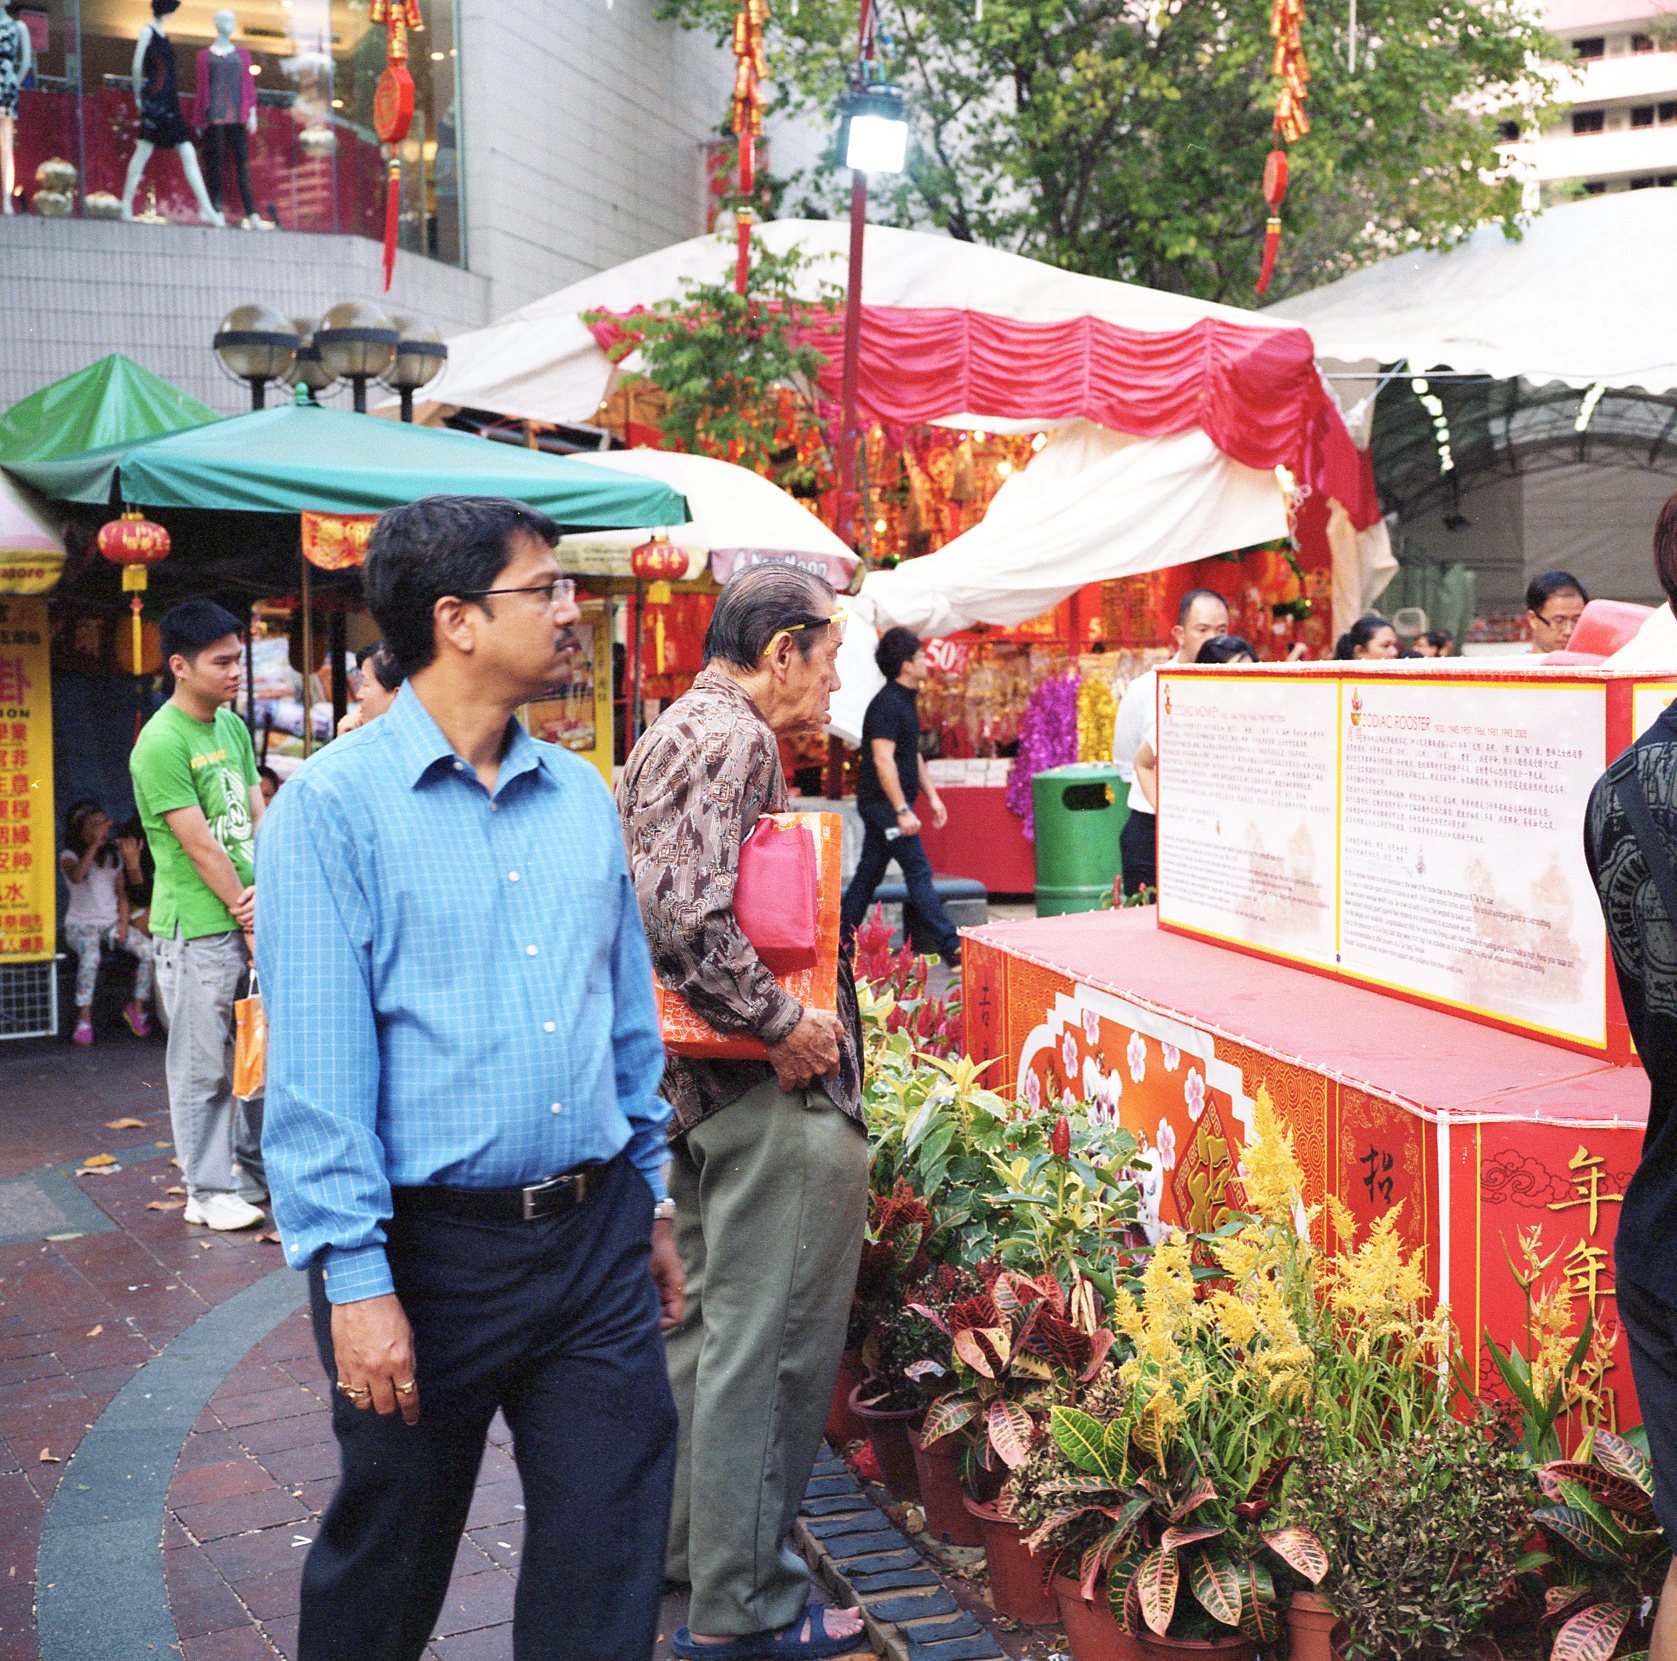

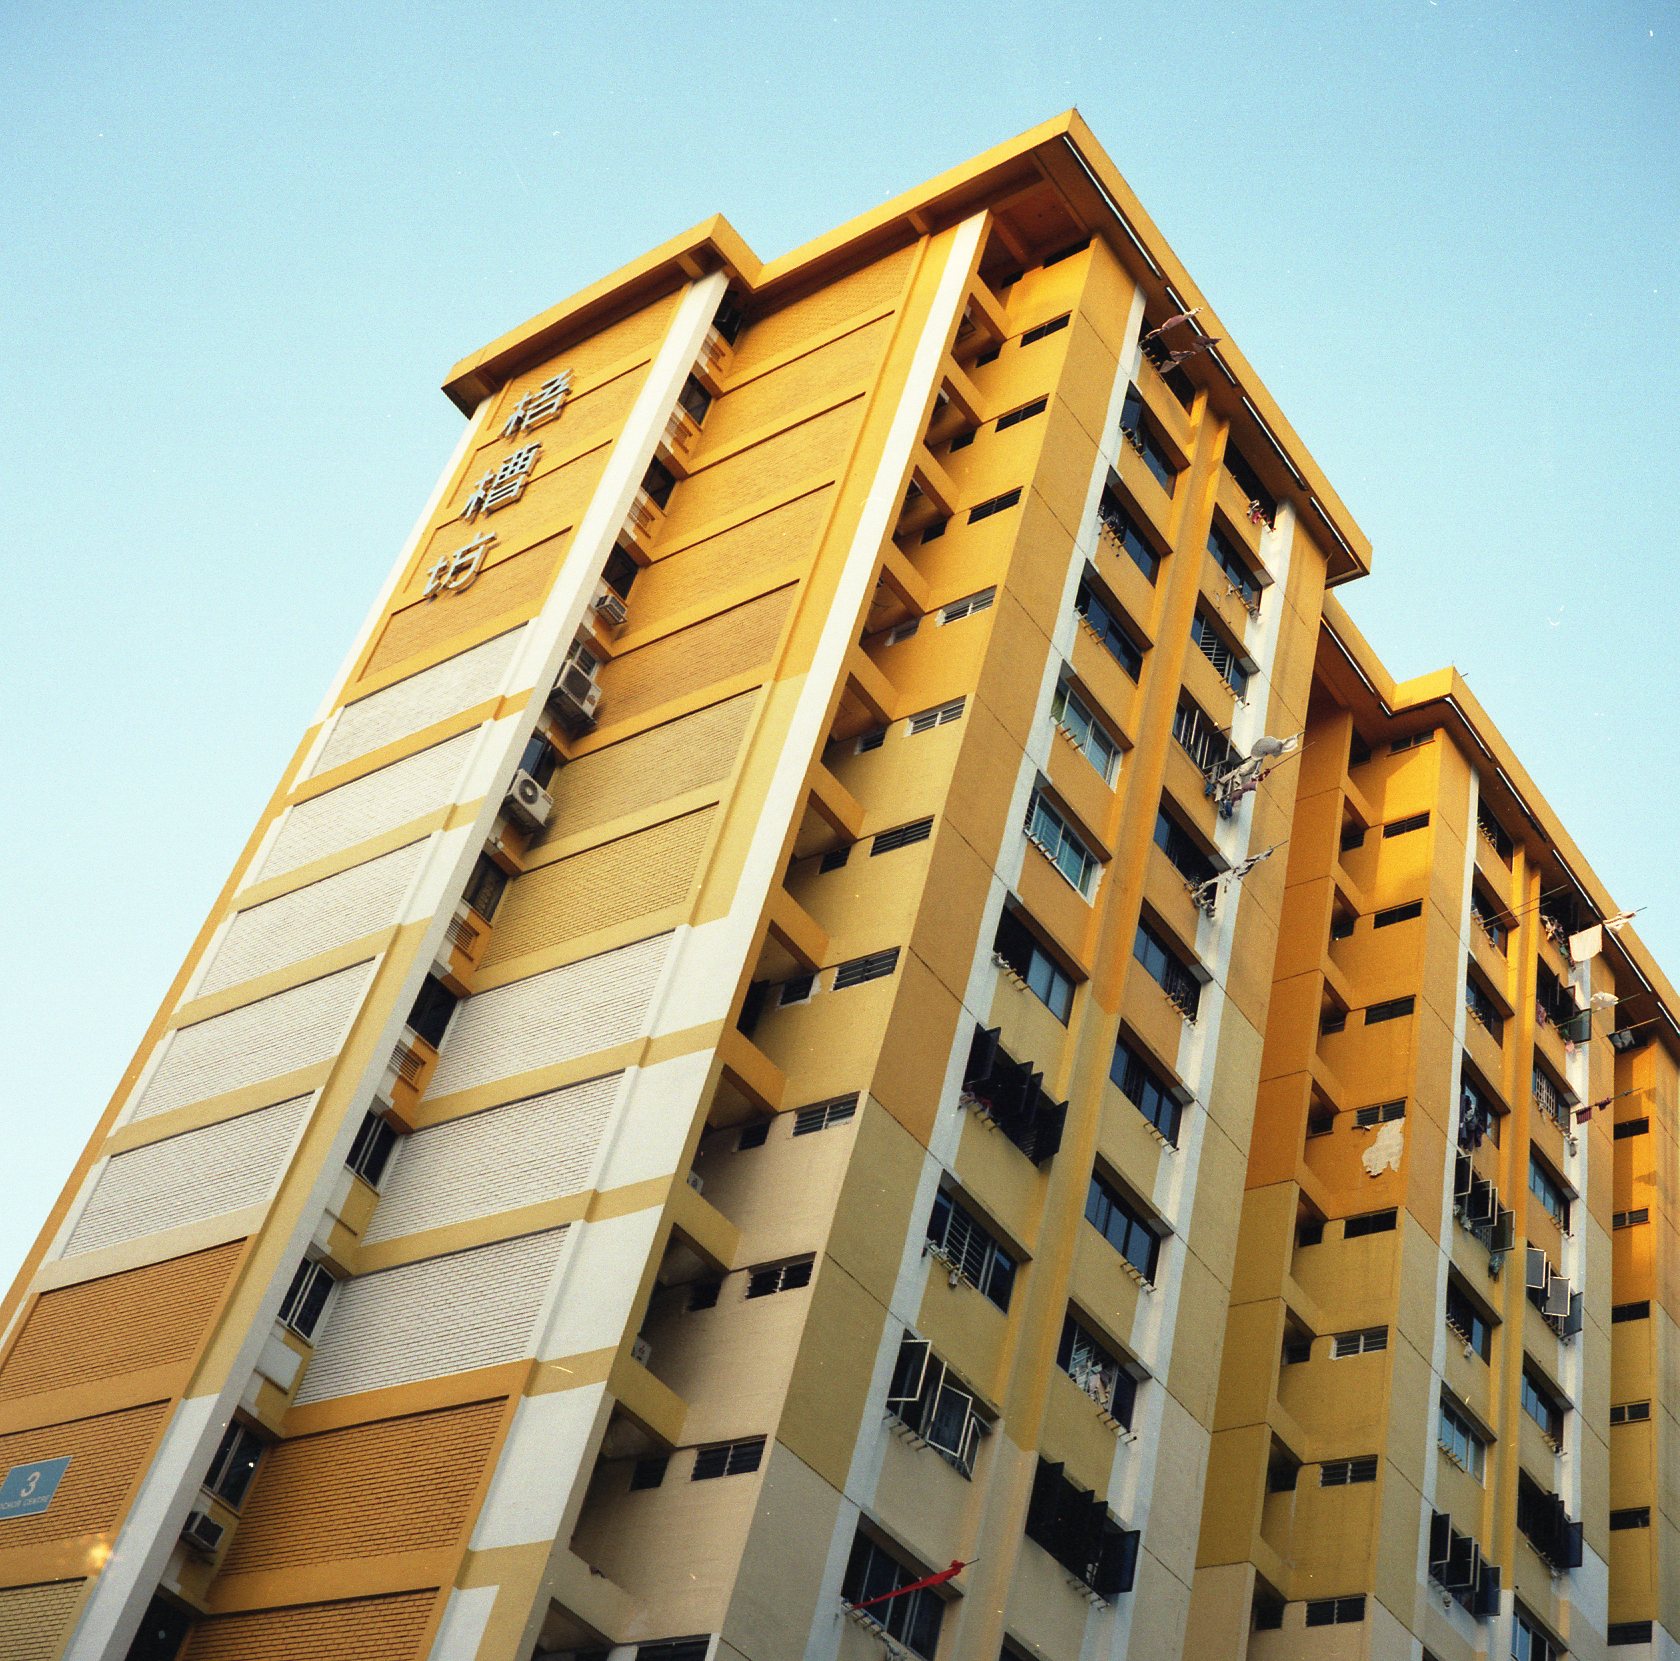
Ilford 100


Fujifilm Provia 100 Slides