The cyanotype method was discovered in 1842 and used as a simple way to reproduce technical drawings until the invention of the Xerox machine. The cyanotype method uses ammonium iron citrate, potassium ferrocyanide, and ultraviolet light to create a contact print. The result is a stable, to-scale ‘Prussian Blue’ copy called a blueprint.
It is also possible to make photograms of objects by placing them directly on material coated with cyanotype solution to produce a silhouette. Anna Atkins is considered to be the first female photographer (despite not even using a camera) for her books detailing her immense seaweed collection using this process
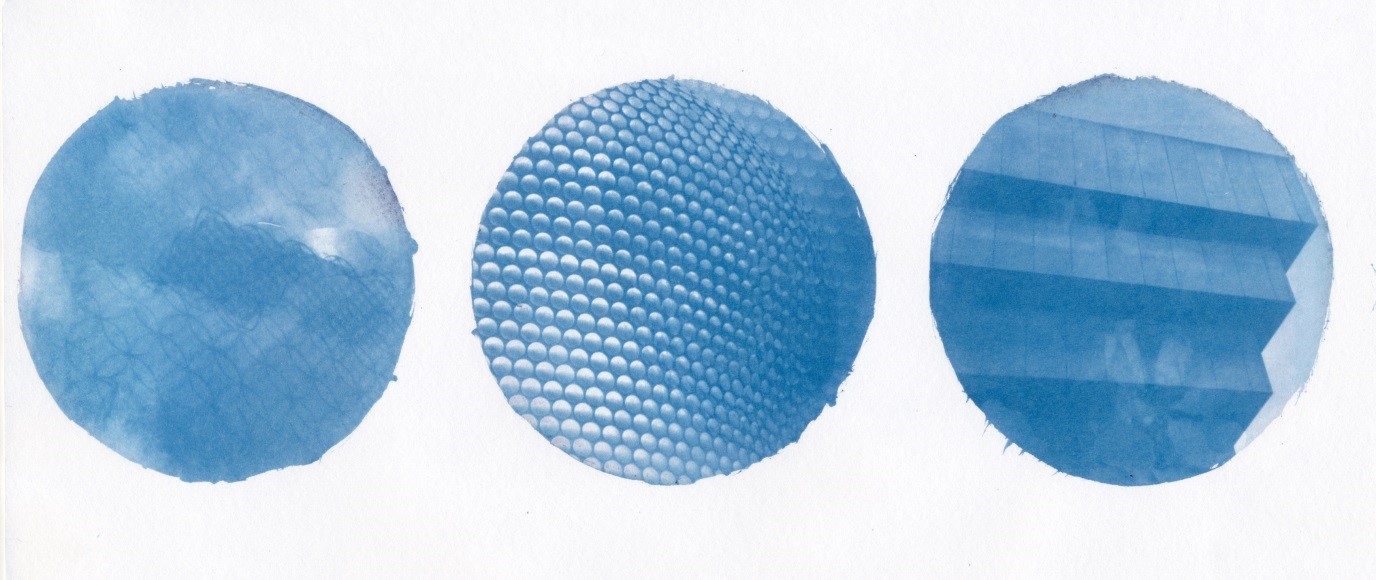
Whilst no longer being used commercially, the ease and adaptability of the cyanotype is still used by artists interested in alternative photography. They can be made on any surface capable of soaking up the solution (paper, fabric, wood, or even your own hands) in any shape or pattern. You are only really limited by your imagination and the colour blue – well, not exactly.
I greatly admire darkroom proficiency and water colour painting, but I’m really quite bad at both. The cyanotype process is easy enough to let me combine the principles of both media to create unique, handmade prints.
What follows are lessons learned from six months of making cyanotypes with paper, a digital negative, and UV lamp. I am not a master by any stretch of the imagination and many of my solutions are quite DIY, but they work for me and hopefully this article will convince you try it out and get experimenting.

WHAT YOU NEED
Sensitising solution
I use the traditional method of combining ammonium iron citrate and potassium ferricyanide. I bought these bottled from eBay for about $15, giving me enough to coat about 50 sheets. There are many readymade kits available online that arrive in brown bottles (protects solution from light) and droppers (easy to measure).
There is an alternative process imaginatively called the new method developed by Mike Ware. It is quicker and apparently produces excellent tonal ranges but it is more expensive, complicated to mix, and potentially toxic. Consequently, I would hesitate to recommend it until you are confident with the traditional method.
Negative
We are making contact prints, so the negative needs to be the same size as the print. Therefore we need either need a large format negative or make your own digital negative.
To do this you need a printer, transparency film (OHP paper) and picture editing software. Simply put, you take the original picture, convert to black and white, invert the colours, and print. Through practice you will work out what images makes a good candidate for a cyanotype and how dense the negative should be. Here is an excellent tutorial that walks you through the full process.
It is important to know that transparency paper is specific to inkjet or laserjet printers. If you use the wrong one, the ink will not dry and smear over the paper. Make sure to verify if the transparency paper you purchase is designed for laser or inkjet.
Paper
To begin, use cheap cartridge (usually sold as an ‘artist’s sketch pad’) from any art supply store. This will give you a good idea of your exposure time and the tonal range of your negatives. At the moment I’m using ‘Daler-Rowney Heavyweight Cartridge’, which is 200gsm and acid free. It is thicker and more resilient. Eventually I hope to move onto 100% cotton rag paper when I’ve really nailed the process.
Contact Print Frame
We need to make sure that both our negative and sensitised paper are in close contact and unlikely to move during the exposure to obtain the best clarity. I took the glass and backing board from a picture frame, held together using bulldog clips. I would actually recommend using Plexiglas / Perspex instead of glass because of the inherent danger involved in a sharp, brittle, and transparent substance.
Ultraviolet Light
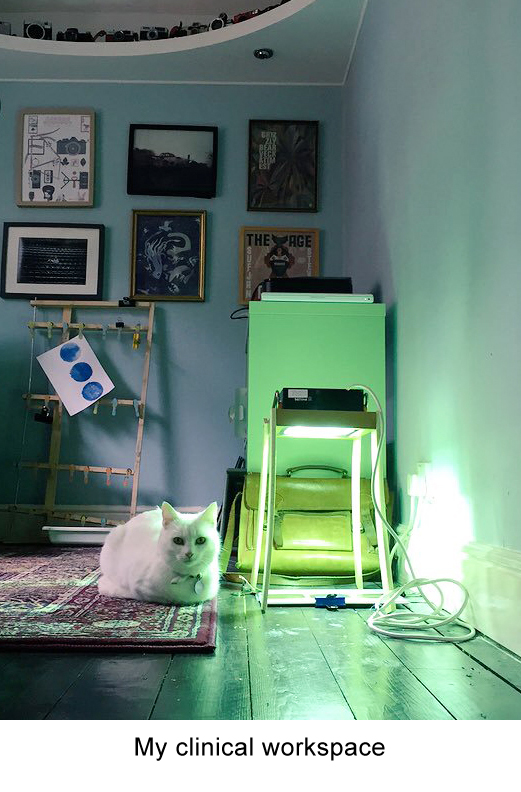
UV is what powers the exposure and, for some of you, this will be the easiest part to source: the sun. However, I live in the UK, so strong, consistent sunlight is almost impossible to predict. My attempts at making sun prints have been frustrated by clouds, strong wind and cats sitting on top.
In response, I managed to jerry-rig an old ‘tanning facial sauna’ together with some bits of wood to make my own UV lamp. You can buy a purpose built lamp or make your own, more substantial one using this guide.
The process
Sensitising the paper
Firstly, I make sure my workspace is set up under subdued lighting – regular incandescent bulbs shouldn’t have any effect but florescent and daylight will fog the emulsion.
I use a pre-made cyanotype kit, so I measure equal parts of the two solutions and mix them in a small jam jar. Five drops of each is enough to fully coat two A4 sheets of paper.

Many people run a wash over the paper using a foam brush as it ensures a uniform flow. I use a Japanese Hake brush to paint on my emulsion because I like the look of brush strokes around the edges of the frame. Either way, try not to charge your brush with too much sensitiser as it may pool on the paper causing the coating to run or develop unevenly.
Allow your paper to dry in a dark place overnight - I use a drawer in my cupboard
Exposing the image

Place your paper emulsion (yellow) side up on the backing board of your contact frame, align your negative over the top and clip the glass down securely. Now we let the UV light go to work. Exposure time is relative to the density of your negative, thickness of paper and intensity of light. As sunlight was the only variable I could not control or depend upon, I resorted to using my ridiculous UV lamp monstrosity. My lamp sits about 20cm away from my contact frame and I let it run for about 20 minutes.
I found my optimum exposure time by making test strips - a series of exposures all on one sheet, exactly the same as you would making a photographic print in the darkroom. When the paper is developed (the next step), you can find the best looking strip and use this amount of time for your full cyanotype print. Here is a list of sunlight exposure times from around the world
When the exposure time has elapsed, shield your print from any more light to prevent overdevelopment. Your paper will have an inverted image and a brown / green colour.

Exposed image before development
Development
Developing your cyanotype really only involves rinsing the yellow unreacted iron solution from the print. You can do this in a large tray or bathtub where you can agitate the paper with running water. This stops uneven development or stains in your highlights. Wash until it has turned completely blue and then leave to soak in water for 5 minutes.
At this stage, the print may look a little overexposed but as it dries, it will oxidise and become a bolder blue with more detail. The longer you keep the print in water, the more the blues will fade. Using hot water also knocks a lot of the colour out.
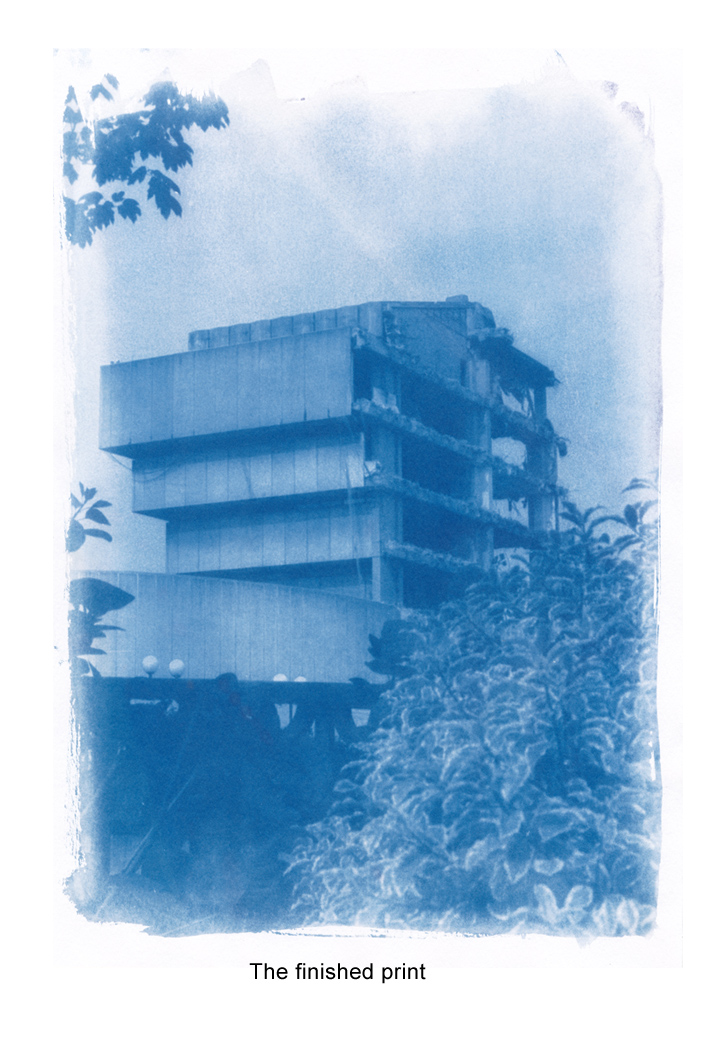
Hang to dry using plastic clothes pegs as bulldog clips tend to be a bit harsh and tear the edges. Once dried, I press my prints in an oversized book to flatten and voila, your finished cyanotype ready to frame, hang or tone.

Conclusion:
Whilst the method may seem convoluted, it becomes easier with practice and finding your favourite workflow. You will almost certainly make some mistakes but that is the nature of trying anything new, and I really think it is worth it to produce a unique, tangible archival print.
I am continuously learning how versatile this process is through trial and error, reading books and investigating online (Alternative Photography is amazing).
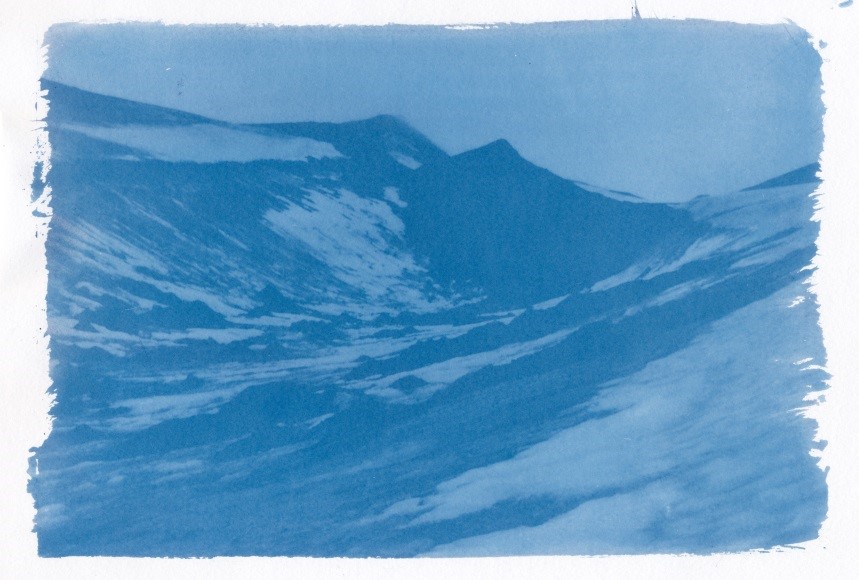
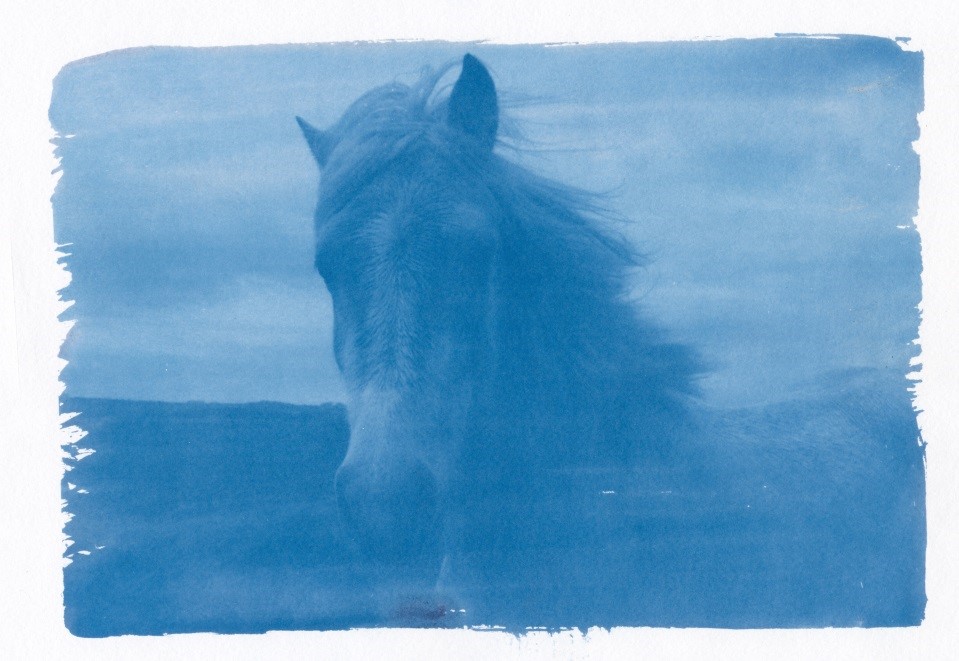
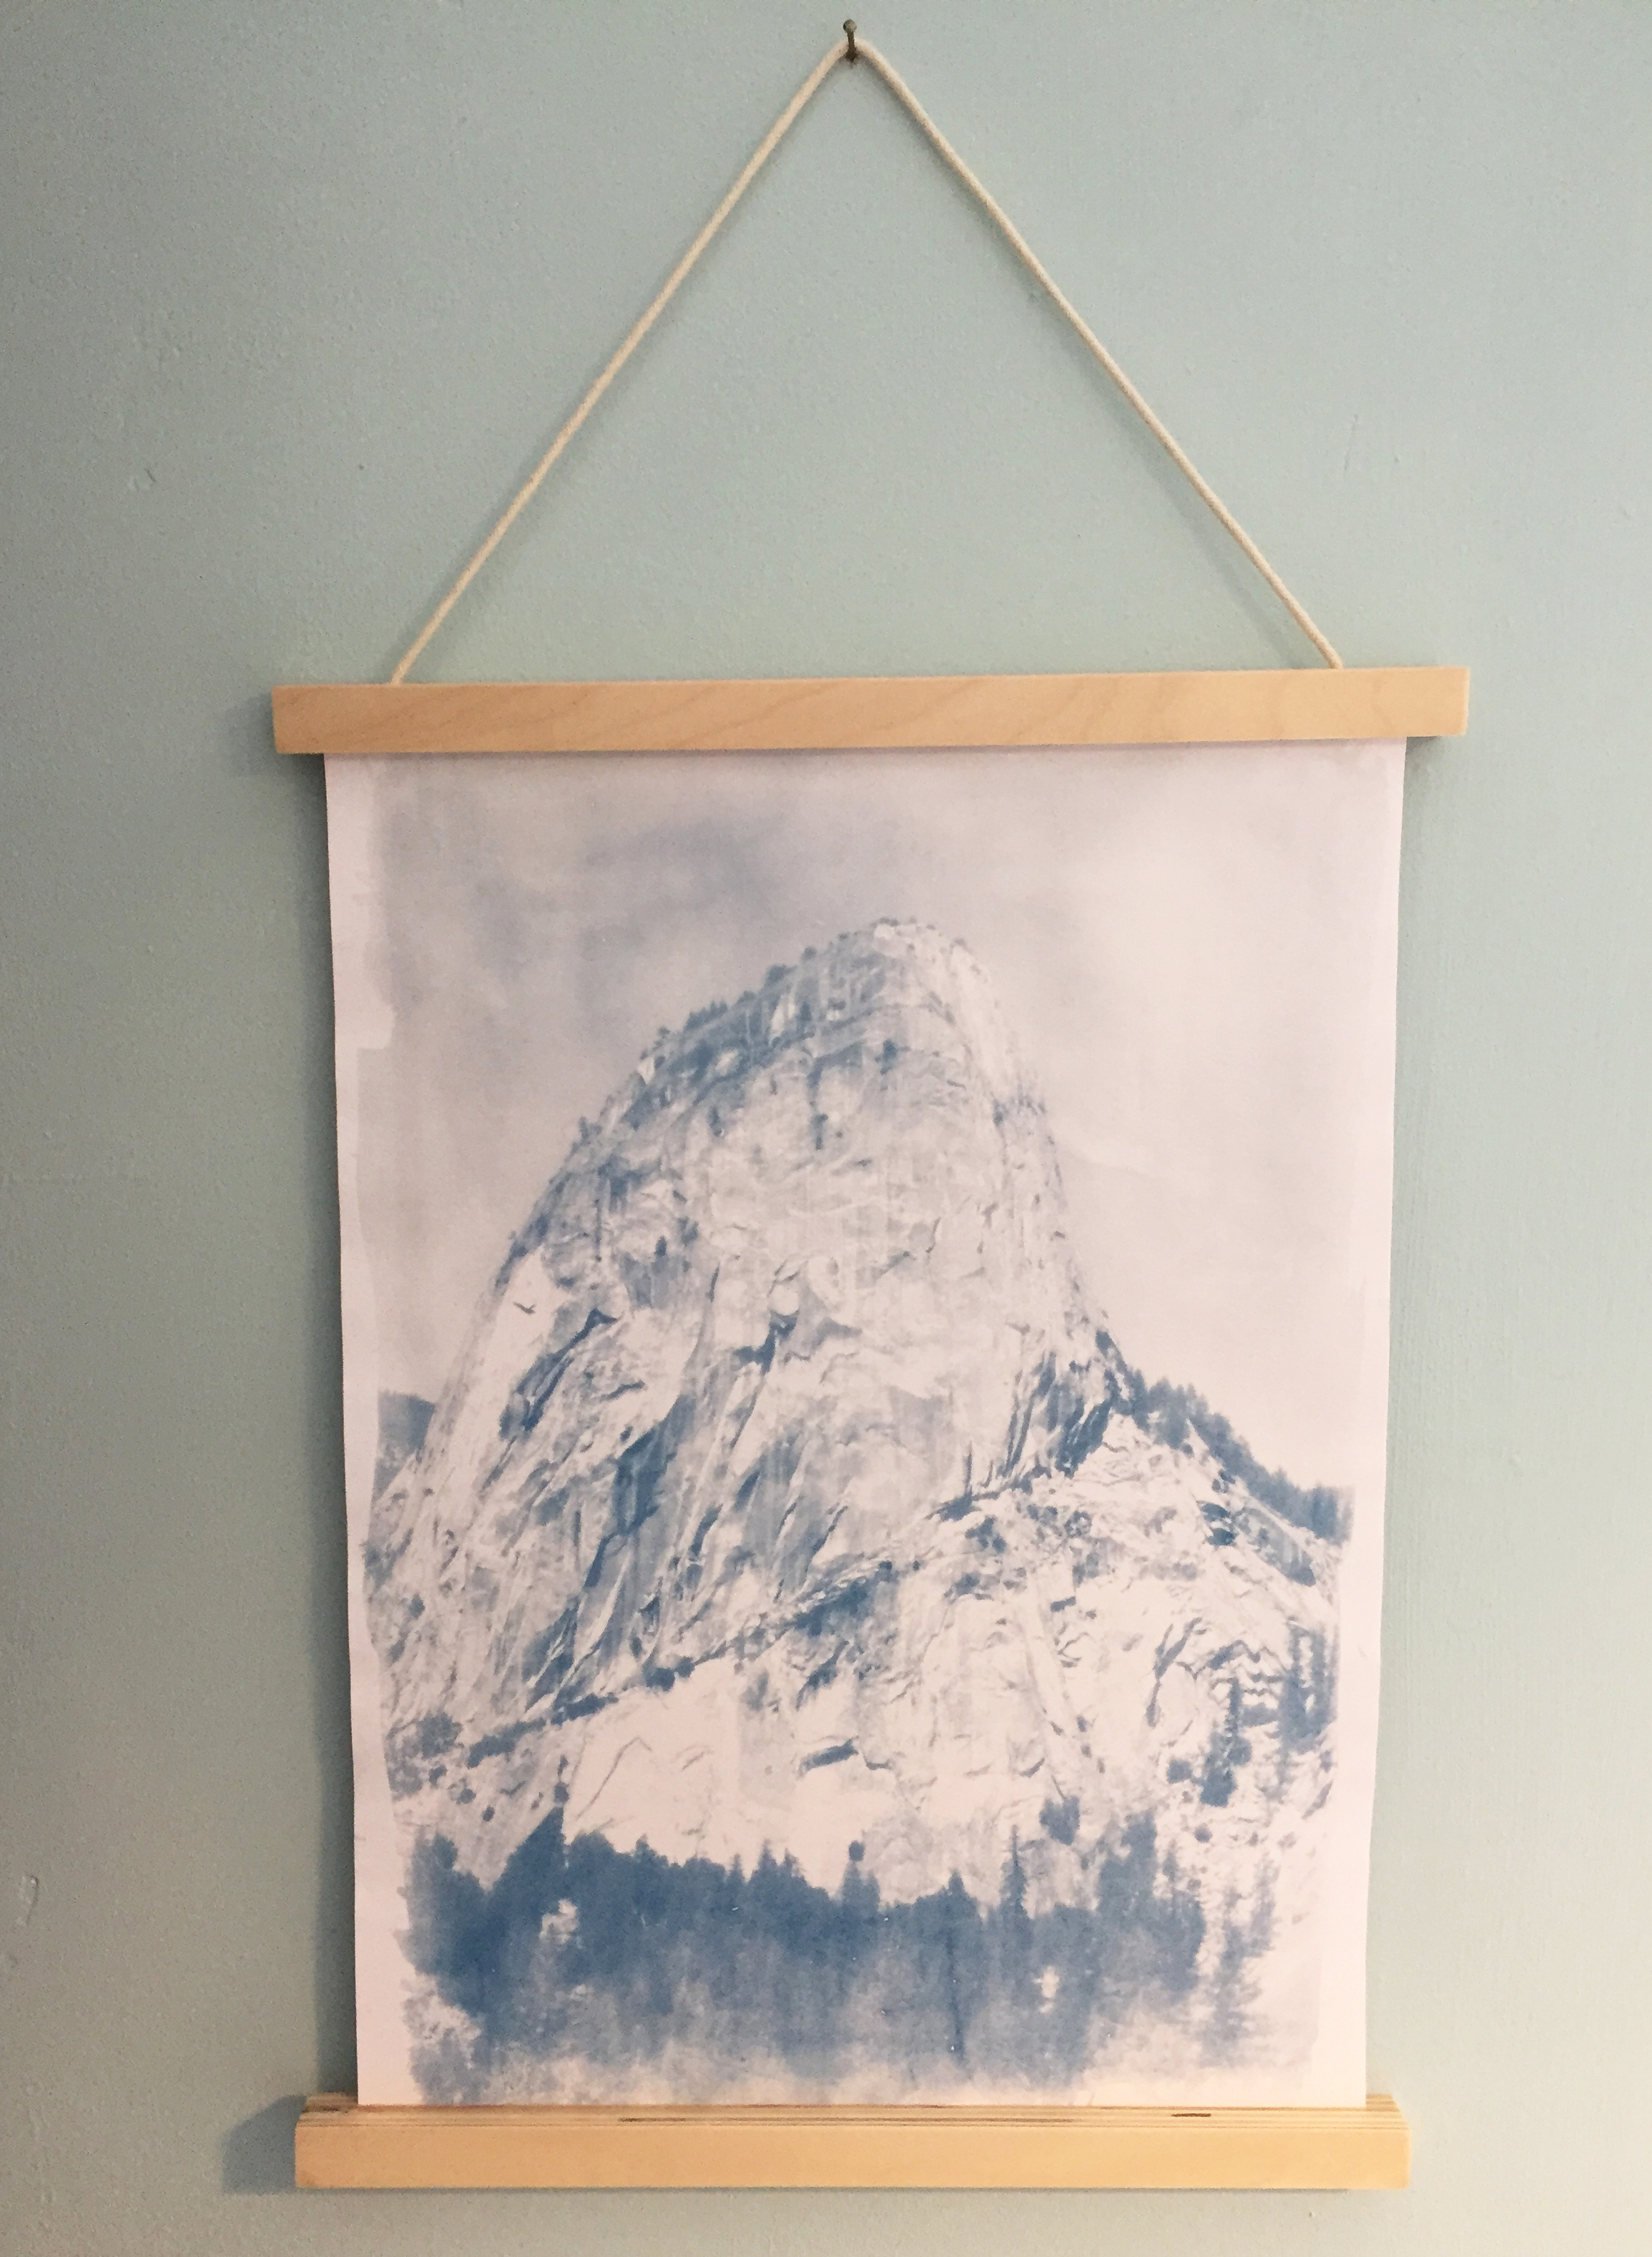
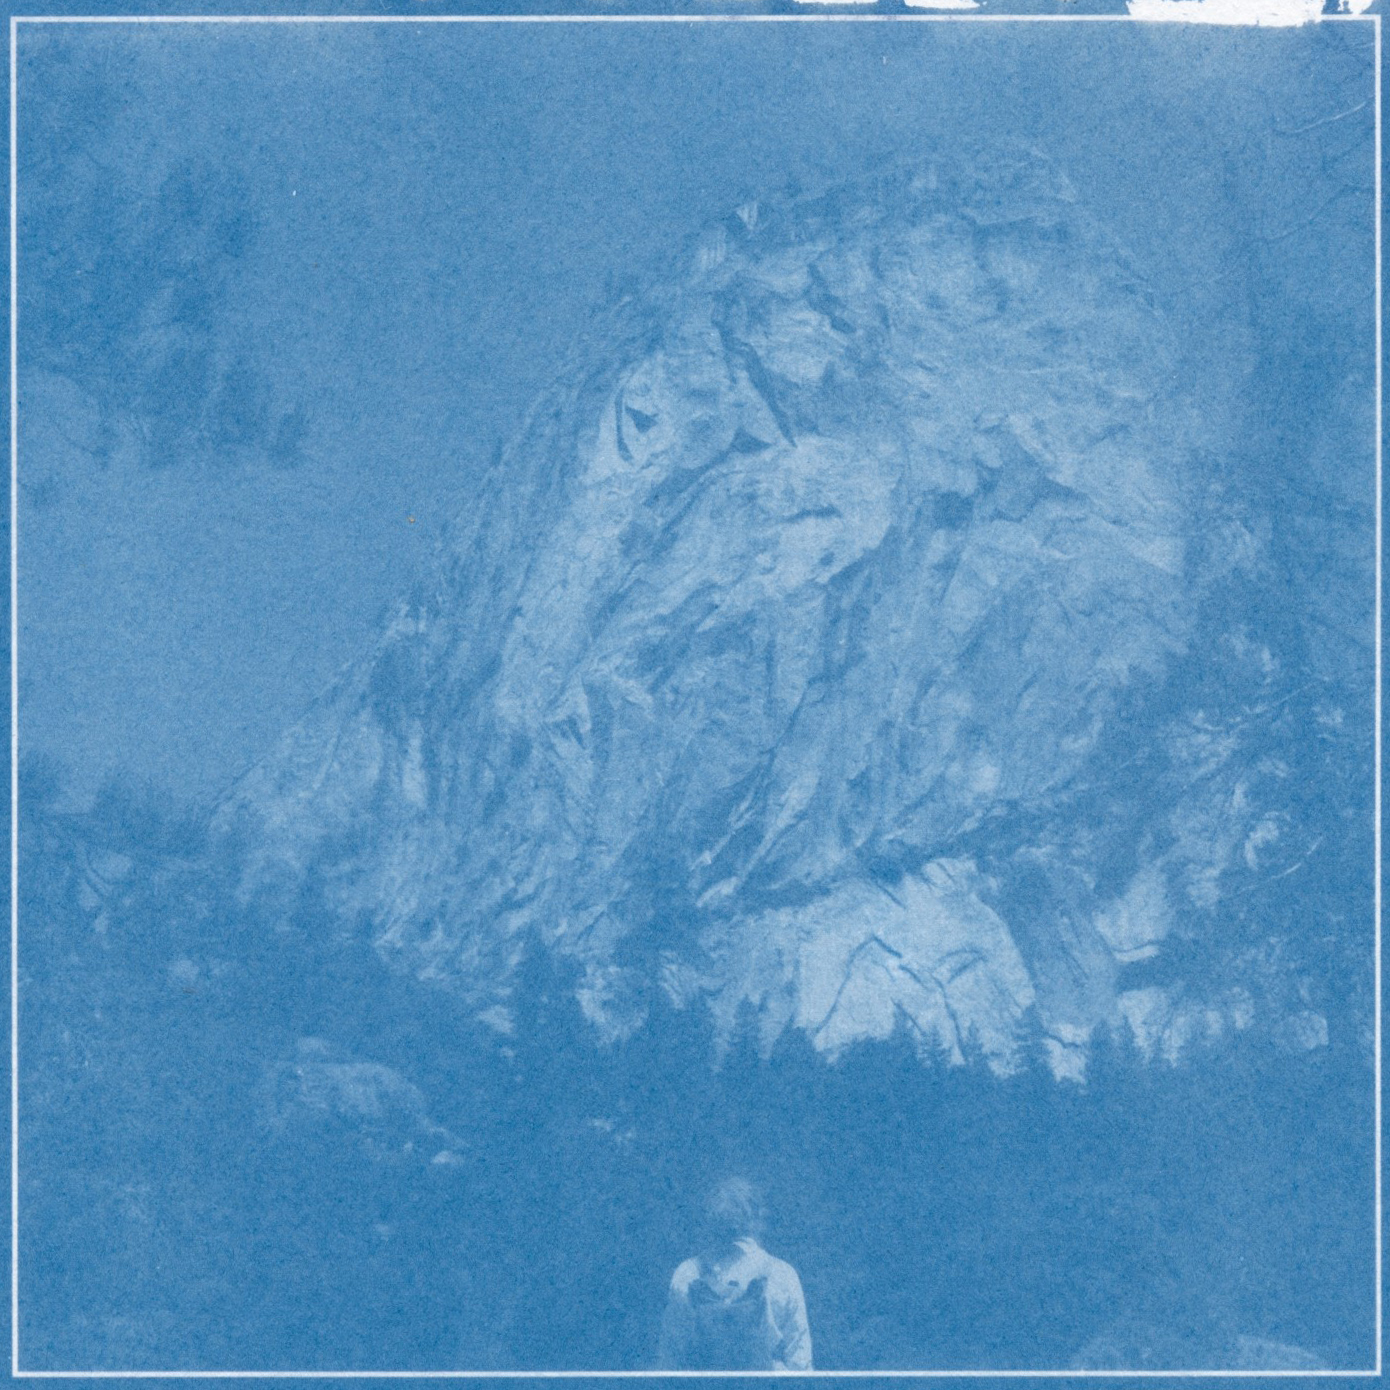
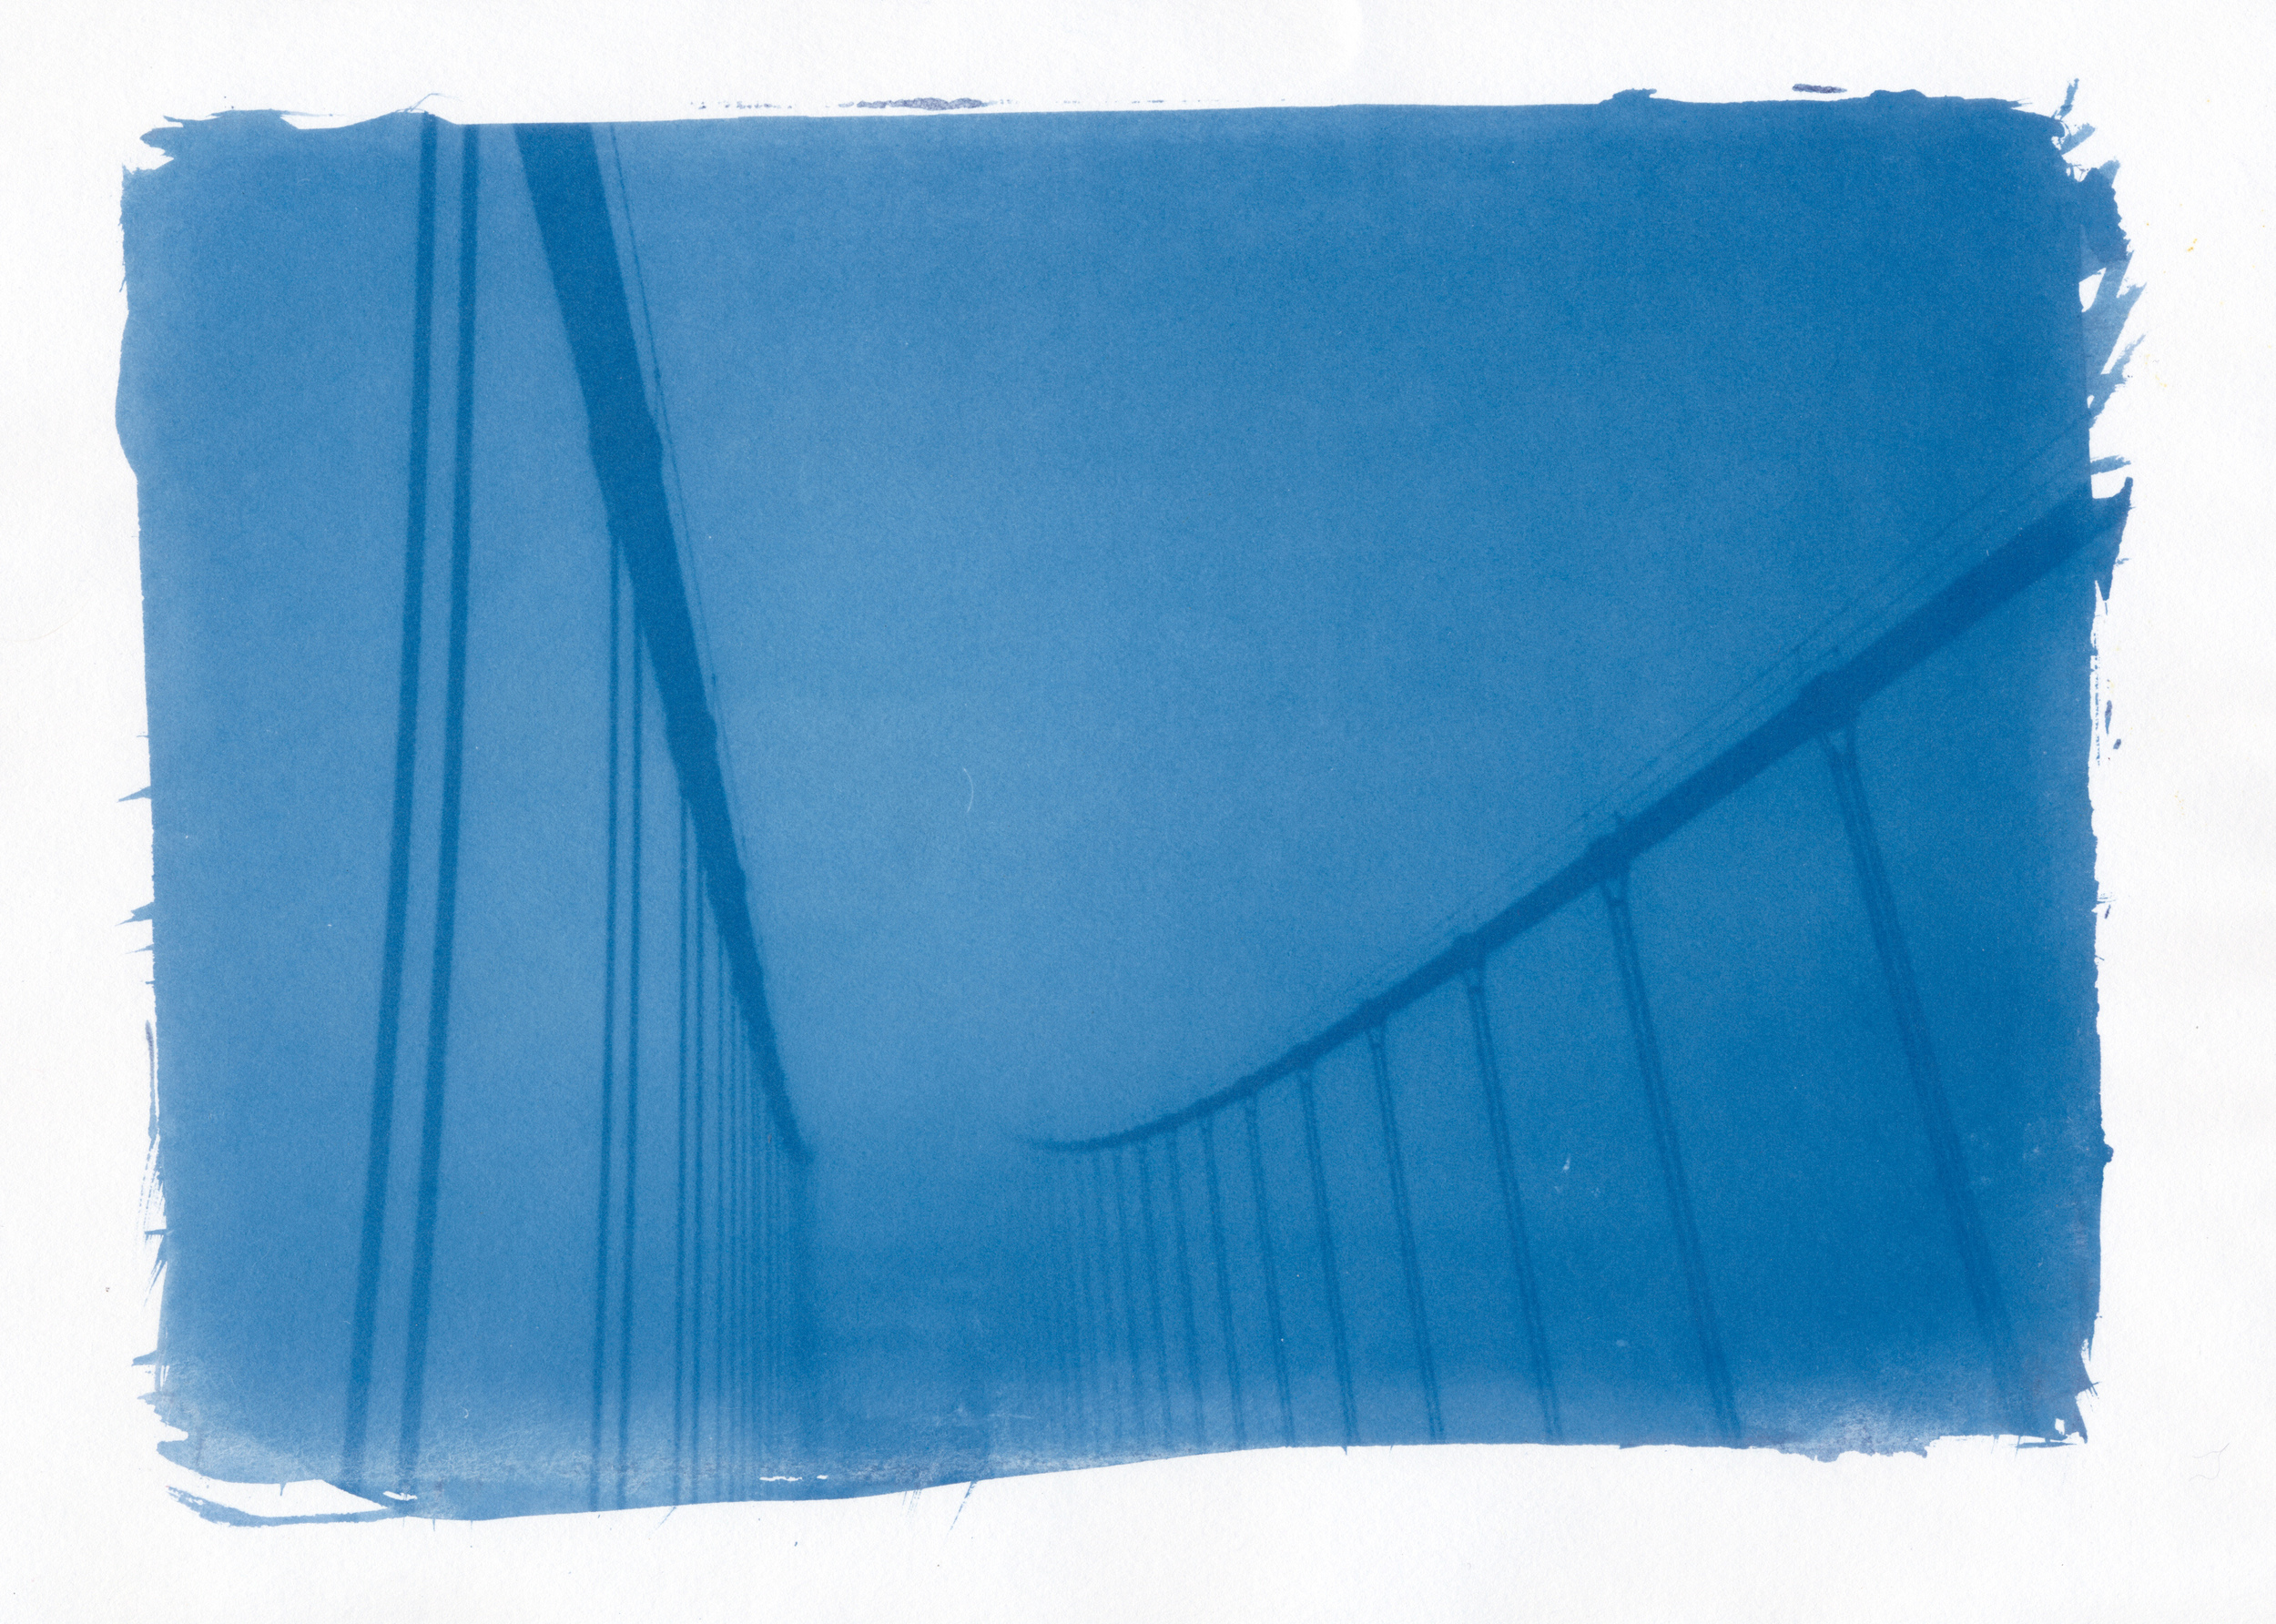
My photographic process always leaves space for chance and experimentation (read: carelessness). Nothing else looks quite like a cyanotype and this especially expressive medium can really show the one-of-a-kind qualities that can only come with being made by a human. I've added a few more examples of my work below.

Connect
RIchard P J Lambert is a member of the Film Shooters Collective who lives in Birmingham, UK. He likes to shoot film because it involves him in the mechanics and process of creating the image. He also enjoys experimenting with alternative techniques and processes like cyanotype, wet plate collodion, long exposure solargraphs, and film soup.
You can see more of Richard's work on his website , read his blog , or connect on Instagram .